
We are in the midst of a pandemic. The face masks are in hot demand the world over. Unfortunately, the supply cannot just cope with the demand for two reasons. For one, the disease outbreak came as a surprise, not many people saw it coming. Then, many economies are presently on lockdown.
Thus, even the few textile firms cannot just operate at full capacity. You need not fret not though as there is a way out. It is possible for you to craft and make your own face masks. We are going to show you how to go about this.
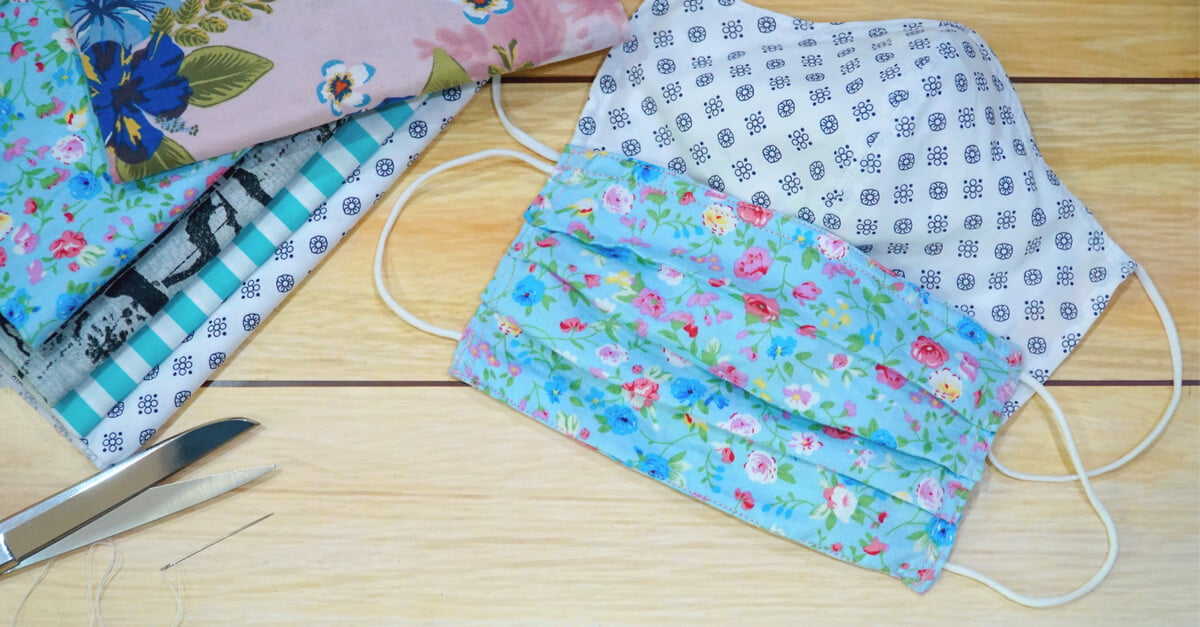
How to Make Your Own Face Mask?
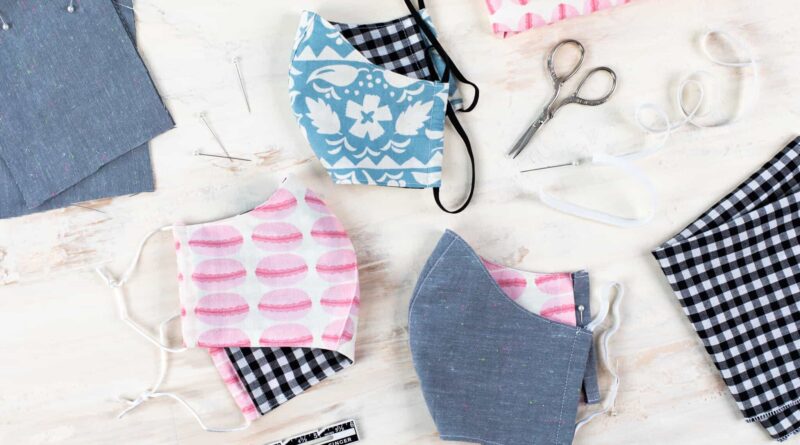
Tools and materials
source: greencitizen.com
First, you will have to garner the following tools and materials:
- Elastic bands
- Bandana or handkerchief
- Pair of scissors
- Tape measure
- Table
- Chalk
- Safety pins
- Needle/sewing machines
- Thread
Step-by-step Procedures
Now follow the steps and the procedures we have enumerated below to create a facemask from a bandana or a piece of handkerchief:
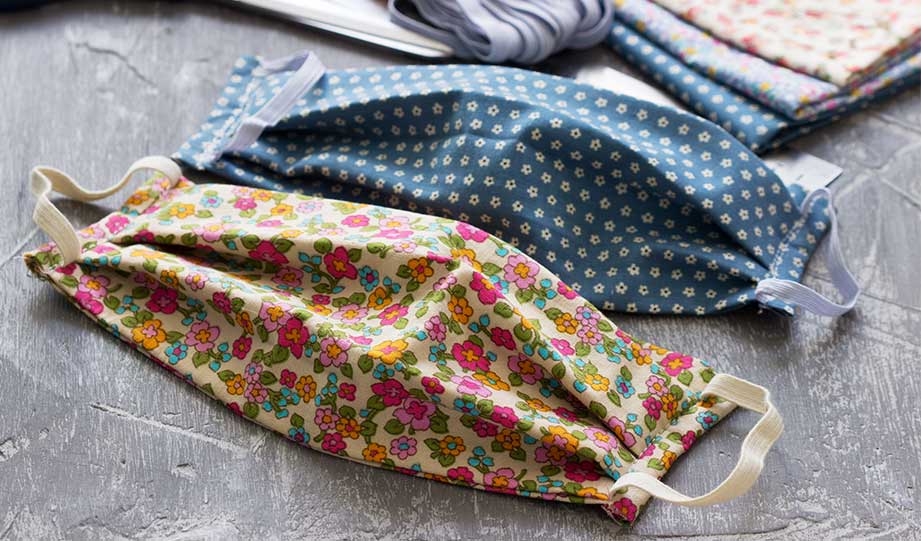
Step I: Lay the bandana or handkerchief out flat
source: silhouette101.com
Start by spreading out the piece of bandana or handkerchief or handkerchief flat on the table. This is to give you a bird’s eye view of the piece of bandana or handkerchief and to enable you to handle it well. See to it that you unfold any creases or corners that may prevent the proper handling of the piece of bandana or handkerchief altogether.
Step II: Mark out the necessary dimensions
You now have to mark out the dimensions of the face mask you would wish to make. Needless to say, the face mask has to fit your face as nearly as can be. You will start by measuring the dimensions of your face while laying special emphasis on the facial features such as nose and mouth.
Then, you will go ahead and translate the same to the piece of bandana or handkerchief. Be sure to exercise a great deal of accuracy here as the final outcome will be largely dependent on the quality of work you will have done at this stage. Use a piece of chalk to mark these dimensions out.
Step III: Fold the bandana or handkerchief in half
Fold the bandana or handkerchief now in half and along the line which you will already have marked out using the piece of chalk. Be sure to make this fold as accurately as can be and strictly within the line of the fold. After you have folded it, use some safety pins to hold the disparate pieces of bandana or handkerchief firmly to prevent them from getting blown by the wind.
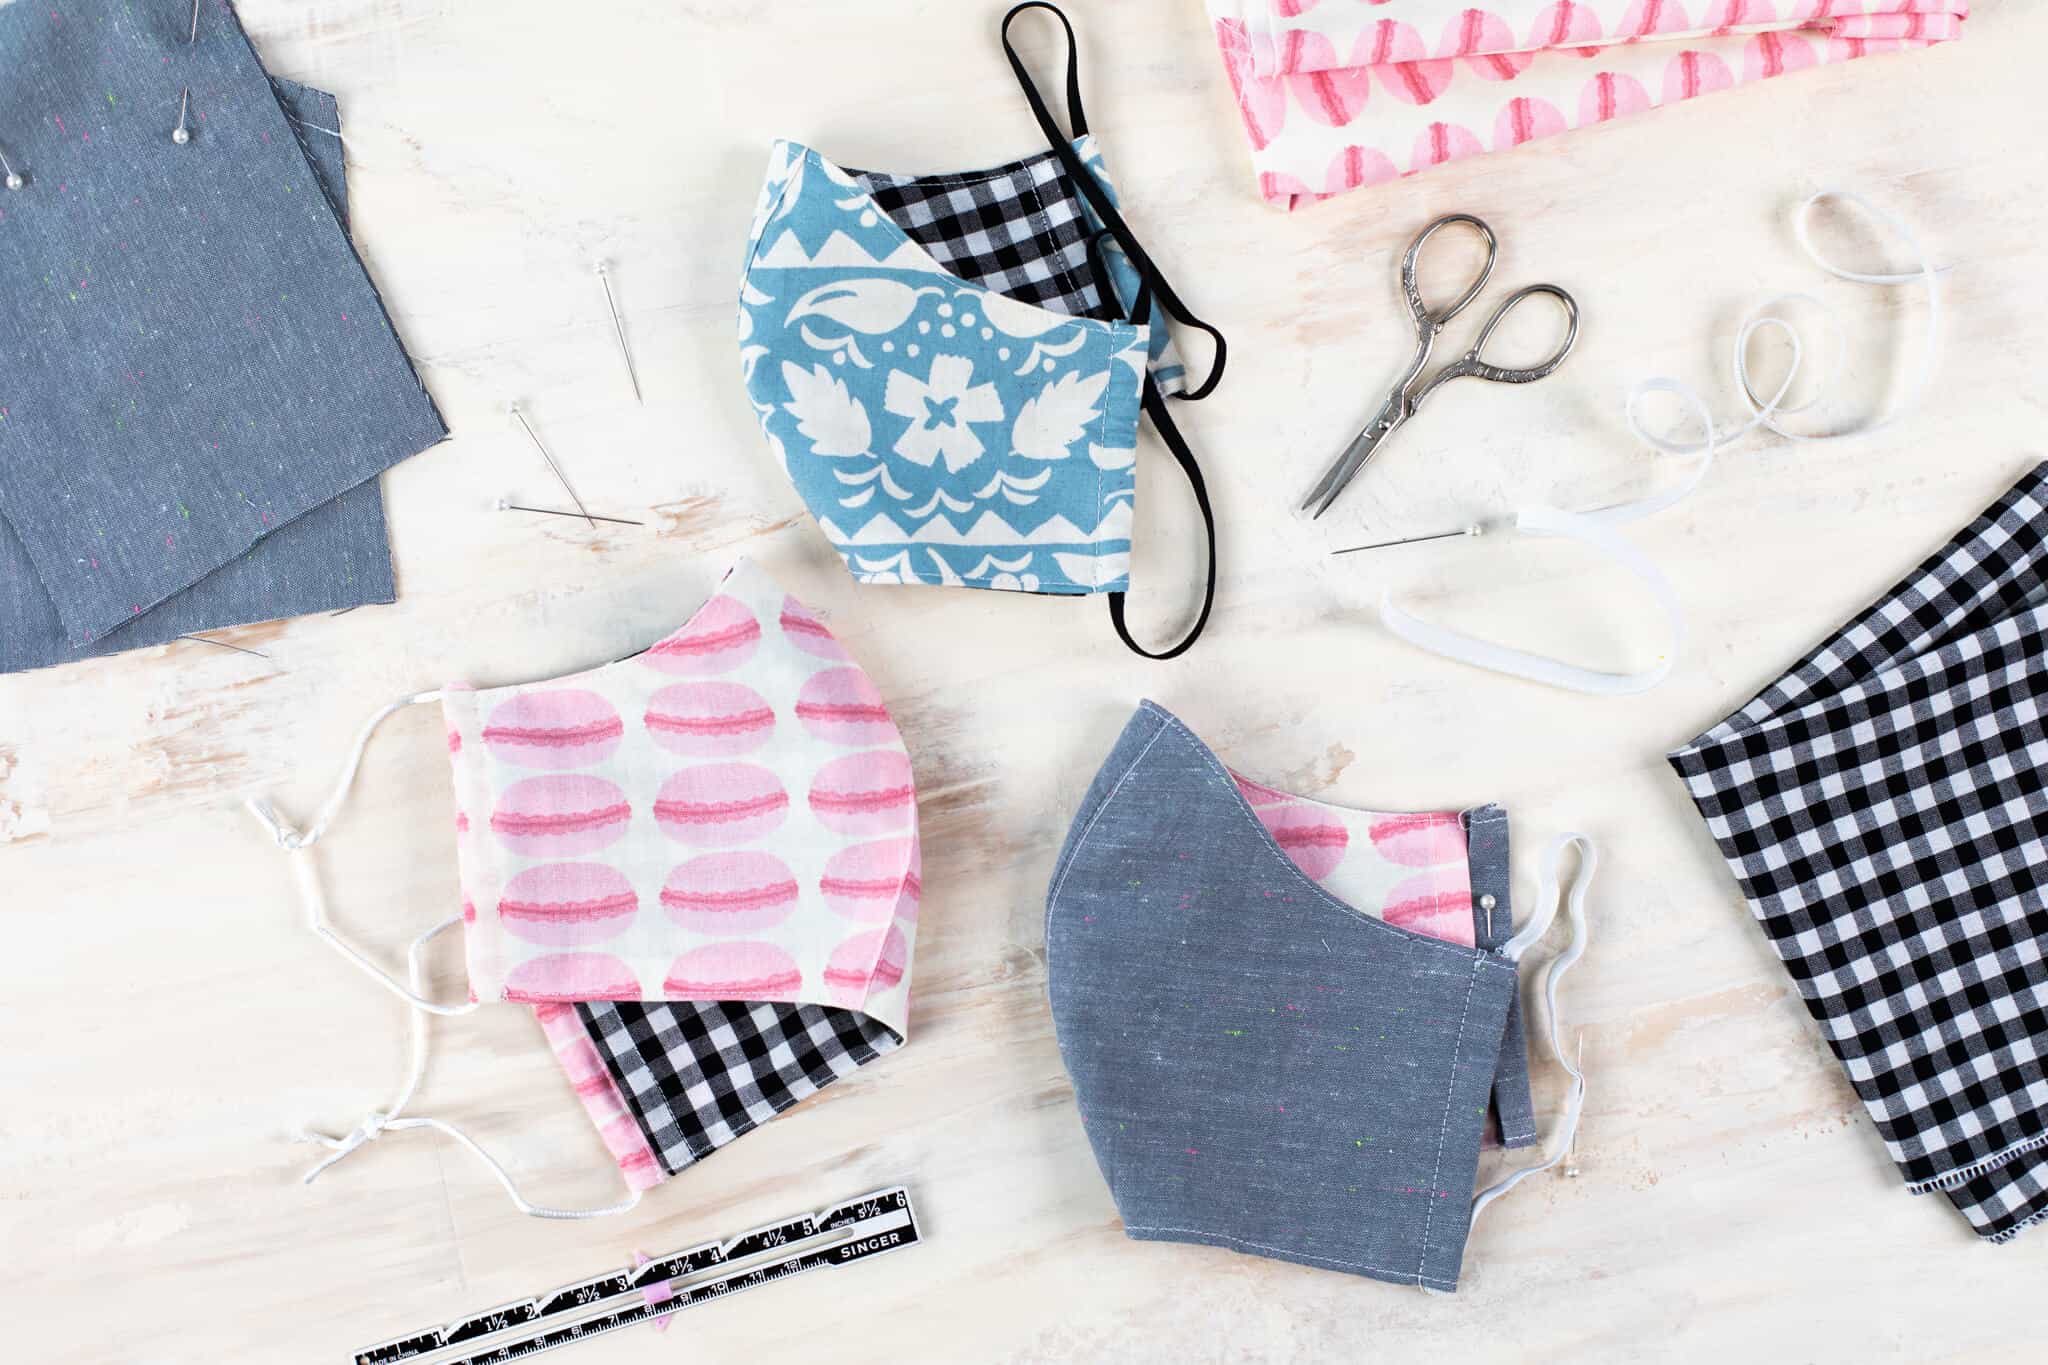
Step IV: Fold the piece of bandana or handkerchief further (optional)
source: amylattacreations.com
Depending on the dimensions of your mouth, nose, and other facial features, you may be required to fold the piece of bandana or handkerchief halfway again. You will first of all mark the line along which you are to fold the bandana or handkerchief. Use a piece of chalk to mark out the line.
As in the first case above, you should be slow and meticulous when folding the piece of bandana or handkerchief to prevent making unnecessary mistakes along the way. Use another batch of safety pins to secure the bandana or handkerchief firmly and in such a manner as to prevent the same from getting blown away by the wind.
Step V: Thread through the elastic bands
The time has now come for you to thread through the elastic bands. The purpose of the plastic band is to fasten the face masks on your ears and to allow the removal of the same if and when the time to do so comes. To thread the elastic bands, place the same at either end of the face mask.
Then use a needle to sew the fabric around the elastic band. If you have the means, you may also use a sewing machine to make permanent threading. Be slow and careful to prevent the likelihood of injuring yourself or doing a shoddy job. Ideally, these elastic bands ought to be 12 cm apart.
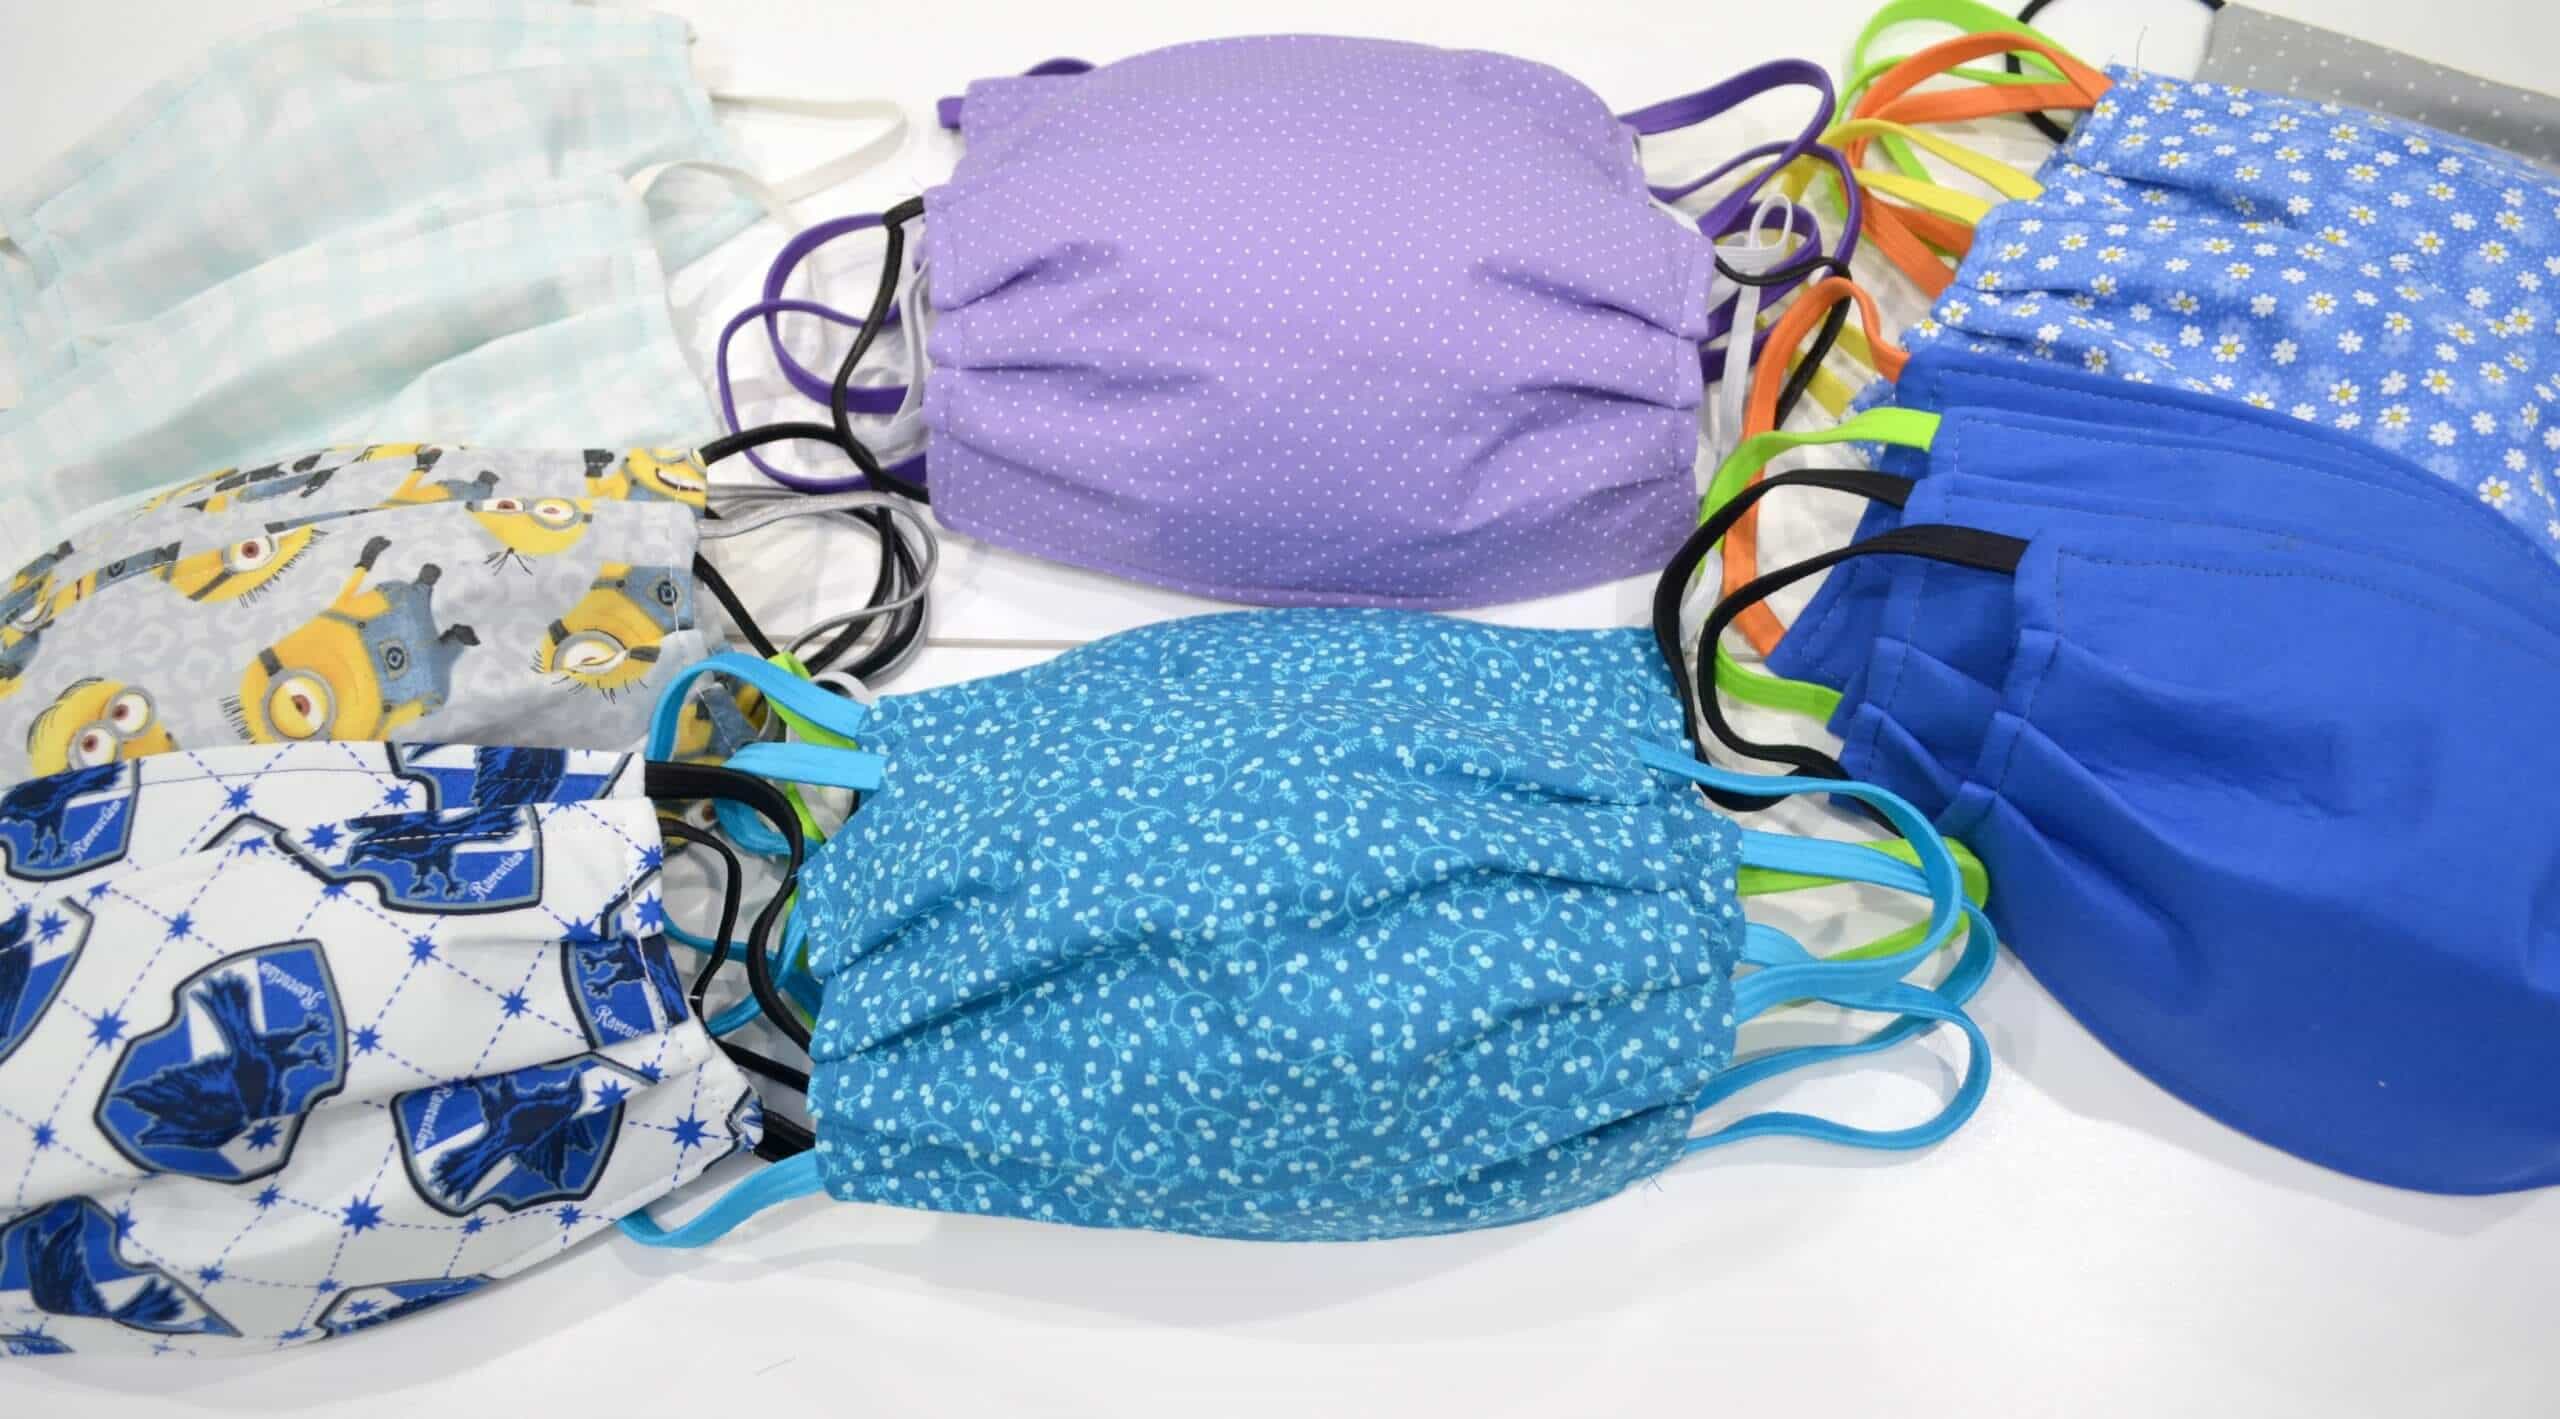
Step VI: Fold each side to the middle
source: momscleanairforce.org
After you have threaded the elastic bands, you now have to fold each side of the bandana or handkerchief to the middle. This stage aims at getting the face mask to its final position. Go slow and meticulous at this stage also to see to it that you come up with really awesome folding outcomes.
Step VII: Tuck into the folds
Conclude the entire exercise by tucking into the folds. At this stage, you basically make permanent stitches to give the face mask a permanent character on the whole. You may use a needle to join the parts or if possible, a sewing machine. Either way, take great care that you do a really thorough job.
Conclusion
Kindly note that there are many styles and fashions of face masks. The procedures we have highlighted and explained above may not apply to all hence. It is therefore incumbent upon you to familiarize yourself with the steps that may be relevant to the kind of face mask you have in mind.
Even though the steps above are general, they are also unifying in the sense that they are applicable in just about every area or kind of face mask out there. That means you have no choice but to read and internalize them as you will require that insight at one point or another.
Want now to make your facemask? Access 4inbandana via this link to start out.