
Introduction
Many households only have a few outside outlets, but installing one can be better than you would expect. Rather than building a new socket circuit, you might be able to plug into an inner outlet on a current outlet loop within your house. It is appropriate if the recent course can accommodate the additional power needs of the new socket and is a regular dispenser circuit.
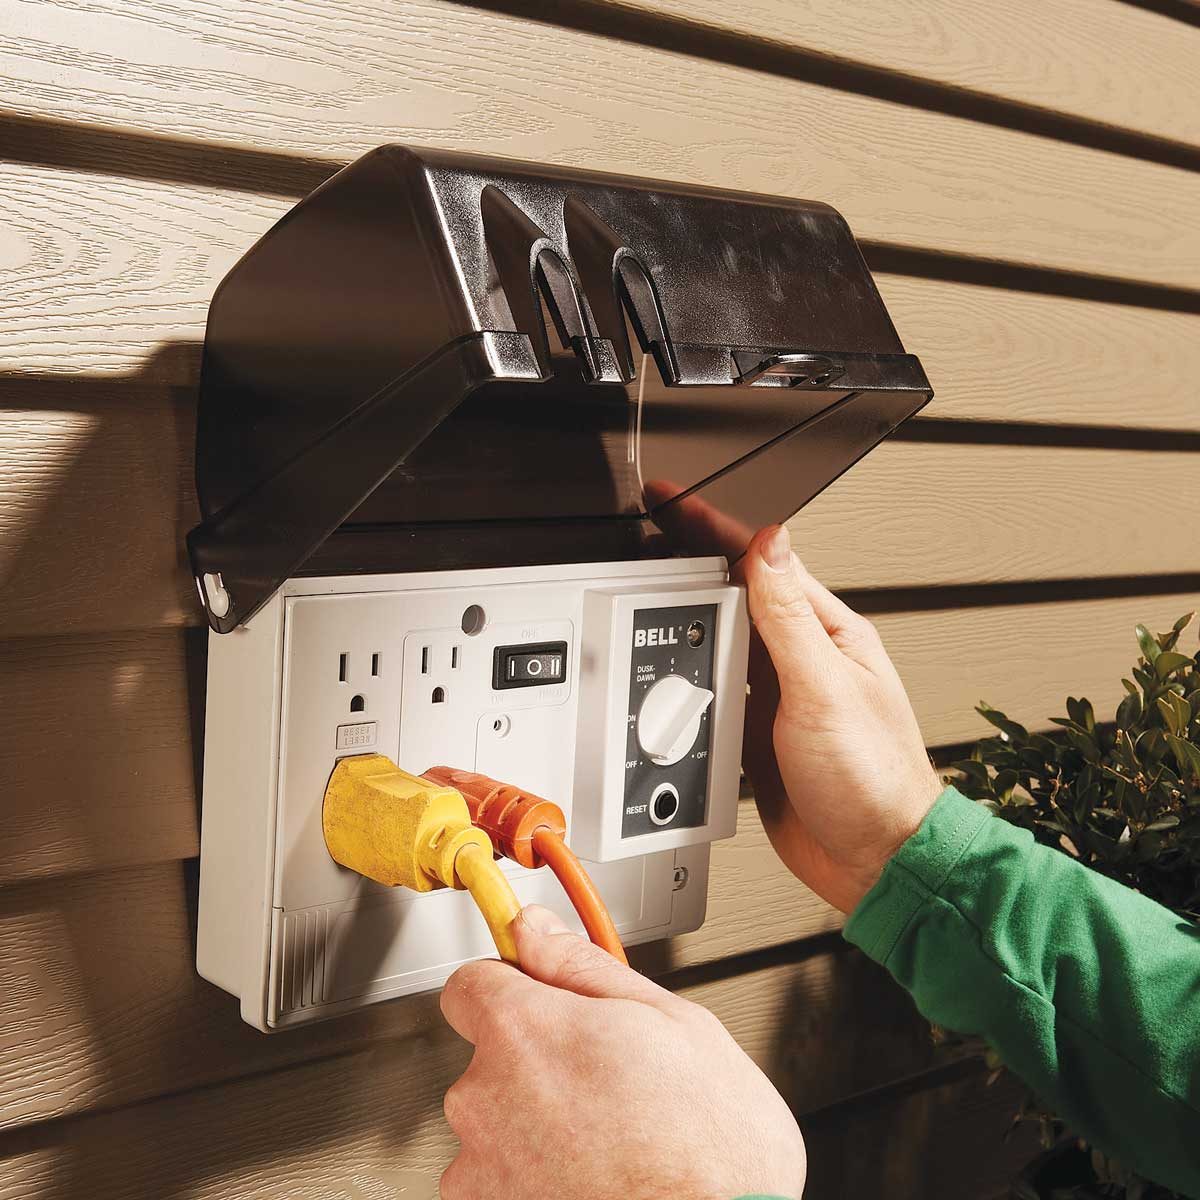
The outside light switch box should be durable and also have a covering appropriate for destination: if the socket is shielded from immediate weather exposure, including the top of the deck, it has to have a “weather – resistant” covering classified for wet conditions; if the socket is allowed access to weather and precipitation, it should have “in-use” protection graded for wet conditions. Besides, all exterior outputs must be secured by a ground-fault circuit interrupter.
Tools required
source: familyhandyman.com
- Tester with contact-free voltage
- Screwdriver
- Hammer
- Drill
- Long drilling bit
- 3/4- drilling bit
- NM-B 2-wire cable
- Hanger with metal coat
- Cable clamping
- Wire rippers
- Drive strippers
- Wire Socket
- Water-resistant exterior electrical box with a decent cover
- Silicone lime or external sealant
- External screws
- Receptacle of GFCI
- Cable clamping
- Energy cable
- External electrical box
- Outlet or GFCI
- Caulk of silicone
- Weather-proof container protection
- Wire Socket
Find the location
source: bhg.com
Classify an internal wall socket in your house that refers to an exterior place where a modern outlet is most beneficial. Quite possibly, the original outlet box is connected to the wall; the current socket must be placed on the con side of the stud, in the very same stud space between neighboring studs.
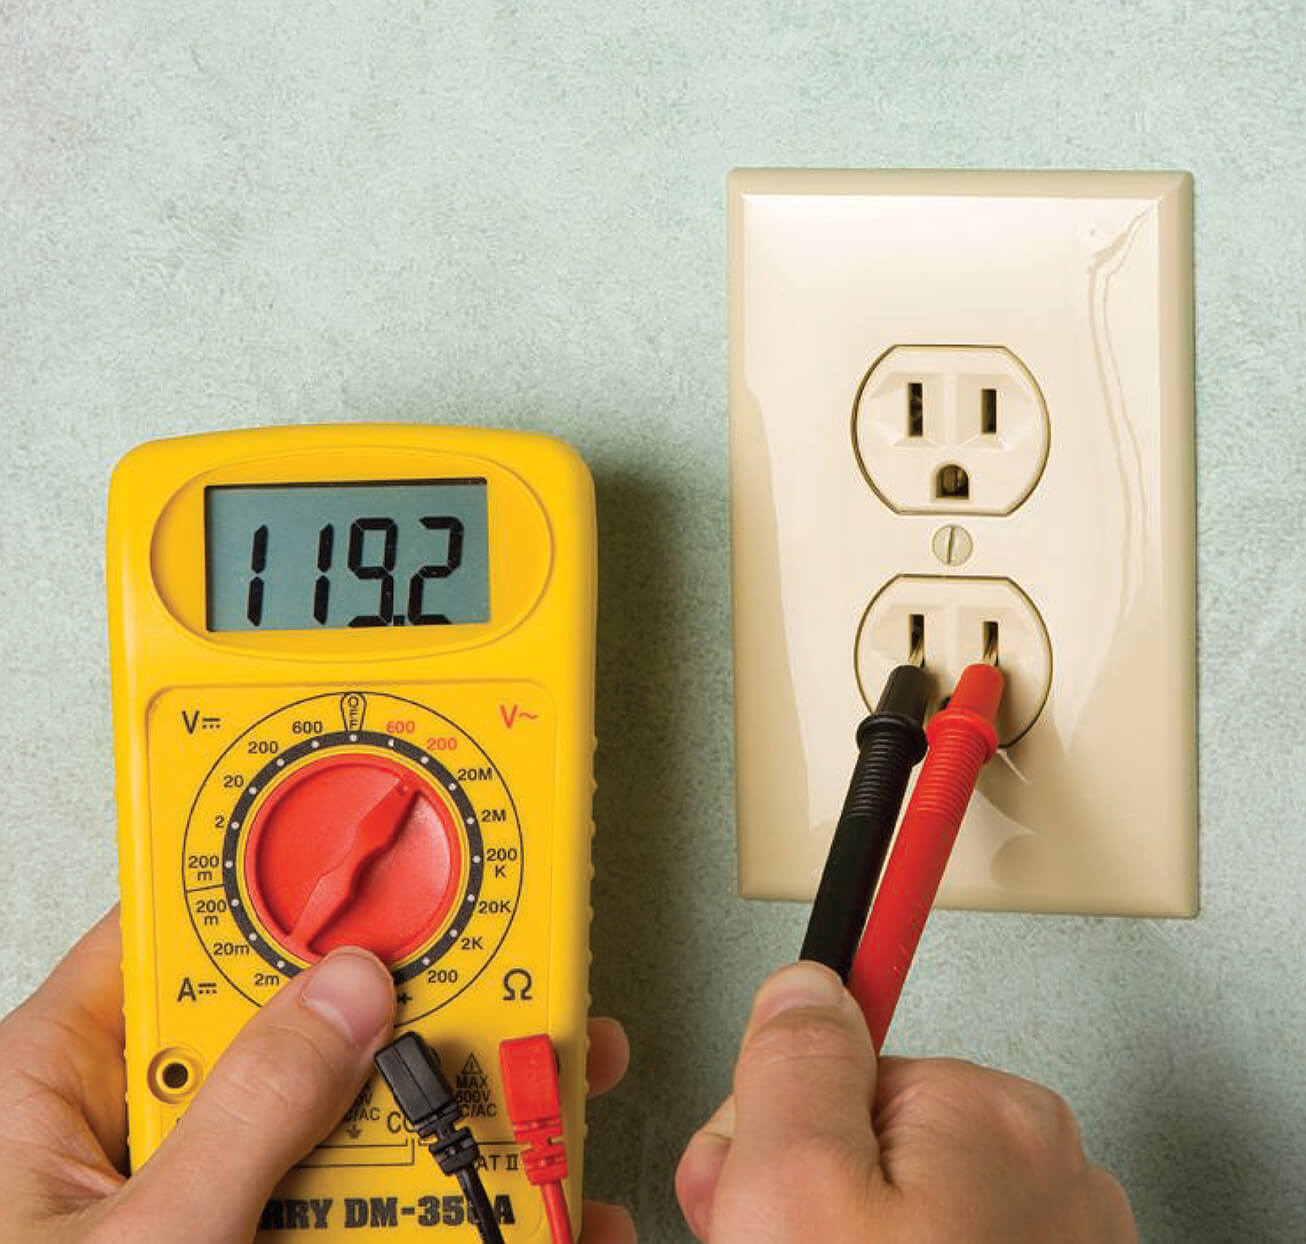
Turn off and test the power
Switch off the control to the current receptacle loop by shutting off the required fuse box in your residential panel board. Review the socket with the contactless current analyzer to ensure that the energy would be off the circuit by placing the tester probing into one of the output holes. Disable the outlet cover plate and verify the strength of both cables and outlet connectors using the checker.
Disable the Connection
Eventually, lose the securing loop bolts on the plug and take it out of the electrical outlet. Detach the cables from the container and clear the receptacle, then twist the wiring to the side just out of the path.
Take Out the box
Delete a knockout from the side of the cabinet to reveal the exterior wall if the box is made of concrete. Pop the knockout with the spike and the screwdriver. If the package is made of cardboard, you must be allowed to use all of the current holes in the container.
Drill the hole and insert the wire

source: instructables.com
Drill a hole in a wall from the inside to the outside, using a drill. If necessary, you should drill into the lockout gap in the container. Broaden the opening on the exterior of the building, digging thru the siding and sheathing. Conversely, you should dig a hole on the outside of the wall instead of digging from both ends, integrating the spot with the inner box or placing it very close to the package.
Split the width of the NM-B cable to stretch from one package to another and push the wire through the indoor container and then through the exterior wall hole. Then use the push-in cord lock or the inner connection in the case to connect the wire to the inside box.
Manage and install the pigtail cables
Break the wire out from the wire roller and then use the rope shredder to cut the outer sheath from the loop of string to detach the three wires. Remove material from the sides of black and white insulating material using wire strippers. The third wire is the raw copper wire. You can use these three wires as pigtails to attach the indoor container to the resistor cables.
Strip free from the outer sheath on the inside of the recently mounted circuit cable. Strip panel with black and white insulated wires. Join the black wires from the current circuit cable to the rod attached from the existing circuit wire and the black pigtail wire, using a suitable wire connection. Do the same thing for the three white wires, therefore the three earth wires.
Wire the indoor socket by attaching the made of copper floor pigtail to the surface screws connector at the socket. Attach the white pigtail to one of the silver terminals at the outlet. Link the black pigtail to one of the outlet brass ports. Place the cables tightly in the electrical substation and lock the connection to the device with the initial bolts. Amputate the cover plate of the socket.
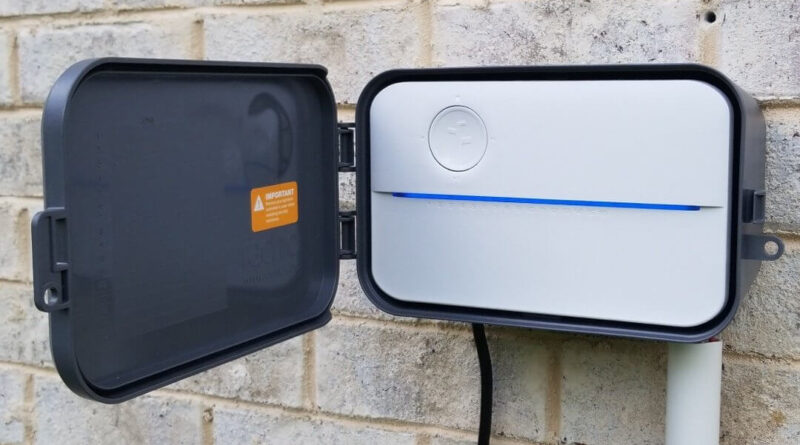
Insert the GFCI outlet
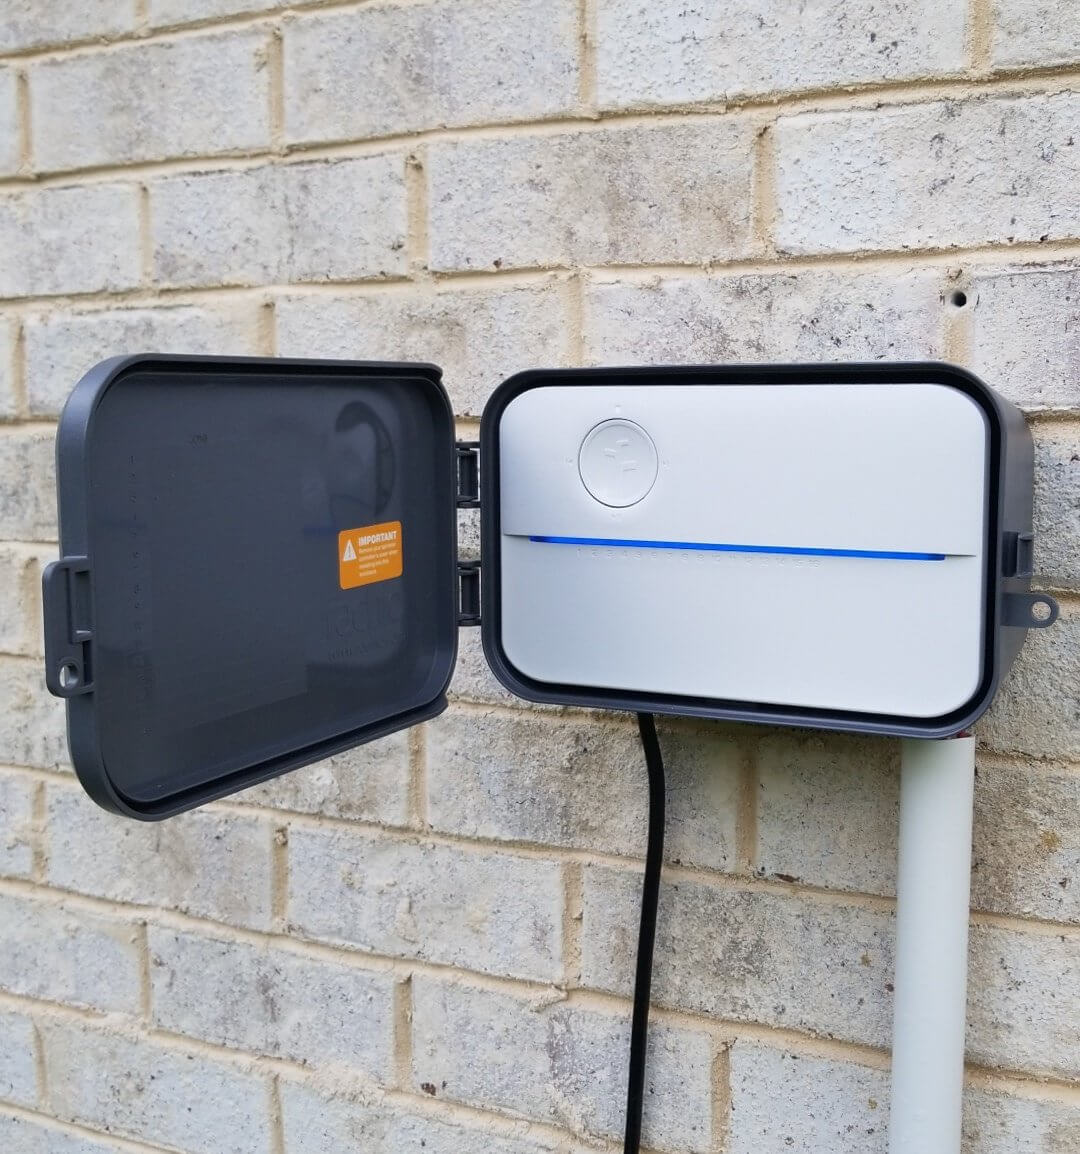
source: support.rachio.com
Insert the bare copper ground wire to the green field screws connector at the GFCI socket—Joint the white wire to the “LINE” silver terminal on the outlet. Attach the dark cable to the “LINE” brass terminal on the socket. Wrap the wires tightly into the package and use the screws supplied to secure the connection to the box. Attach the cover of the outside box as instructed by the maker.
Restore the power and test it
Turn the power on the device by turning on the fuse box. Checked all voltage outlets with the volt analyzer. Check the TEST and RESET controls on the GFCI outlet, as instructed by the maker.