
Do you have VHS cassettes at home? If so, you are like a lot of other people who collected old VHS movies and made their own home videos. Unfortunately, VHS tapes can break down over time. Because they have not been used regularly in more than 15 years, there is a chance that your VHS cassettes might be breaking down. If you would like to fix your VHS tapes, what do you need to do? What are some of the most common issues they have? Take a look at a few important points below, and remember to reach out to professionals who can assist you.
If you would like to fix VHS tapes that are not working appropriately, there are a few key steps you should follow. Remember that if you decide to work on VHS tapes, you might make the damage worse, particularly if you don’t know exactly what you are doing. Therefore, you should reach out to a professional if you are uncertain about how to fix your VHS tape.
Some of the most important steps at Live Enhanced that you need to follow:
source: pinterest.com
- Look at the Tape First: This is a relatively easy step. The first thing you need to do is take a look at your VHS tape to see if there is any physical damage. For example, one of the most common reasons why your VHS cassette might not be working properly is that the tape has split. If you see a giant roll of jumbled tape, this is probably the issue. You should also take a look at your VHS cassette for any other types of physical damage.
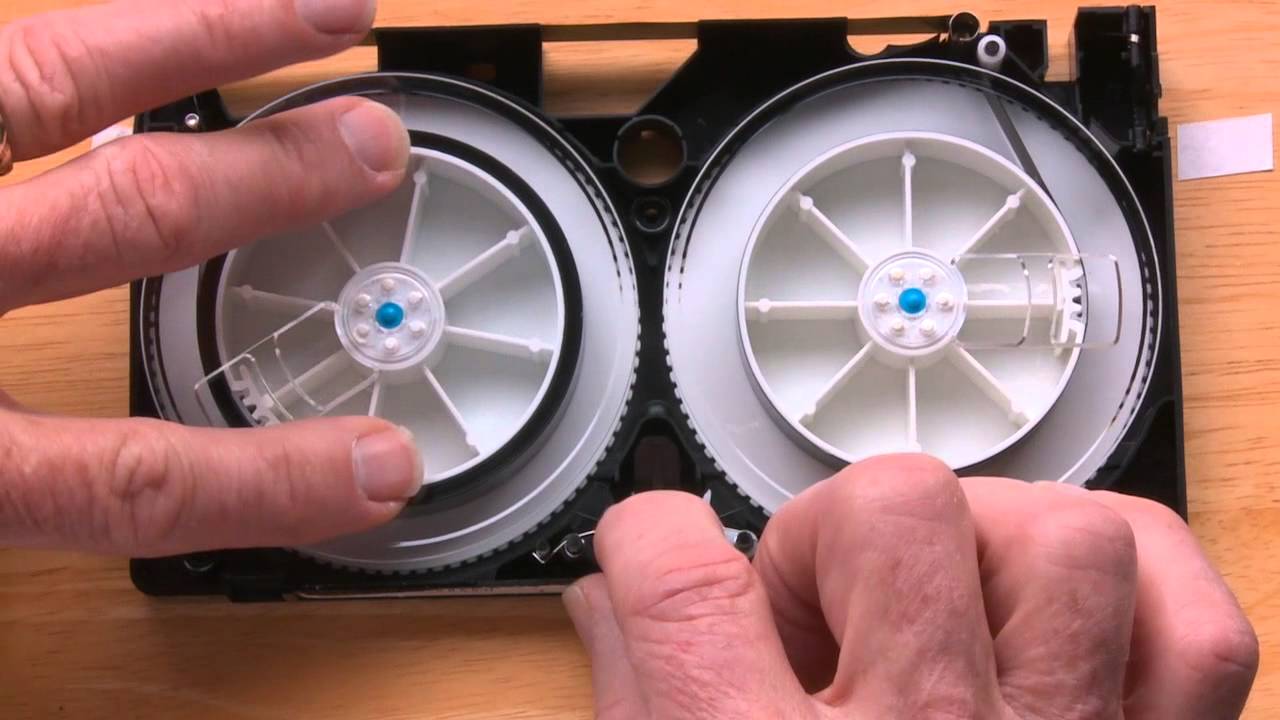
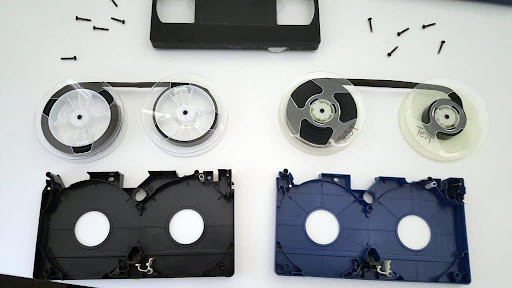
- Open Up the Tape: The next step is to open up the tape casing. Fortunately, this is a relatively easy step as well. Take a look at the casing. There should be five separate screws. There should be one screw in each corner, and there should be a final screw in the center. Usually, these have been designed to accept a Phillips head screwdriver. Therefore, remove the screws and open up the table. You need to make sure the front of the tape facing you. If you are still having a difficult time getting the tape open, you may want to rock it back and forth gently to create some room. You do not want to pull too hard, as you might damage the tape.
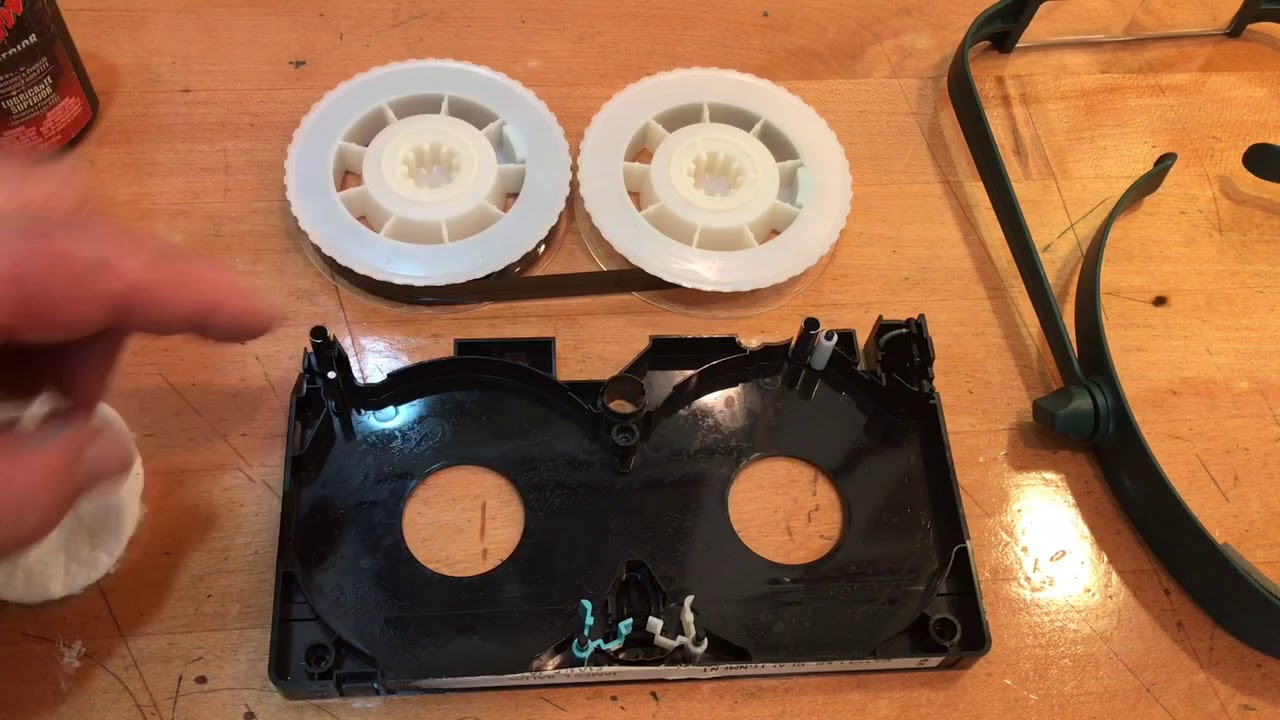
- Cut the Tape: If you are certain that the issue involved the roll of tape, then it is time to perform a bit of surgery. First, make sure you have plenty of clean tape to work with. Therefore, you may want to remove all portions of the damaged film. That way, it will make it easier for you to untangle it. After you are ready to cut the tape, make sure you cut using a clean edge. If you cut on a jagged edge, it will make the job harder.
source: pinterest.com
- Put the Film Back Together: After you have made a clean cut, it is time to put the film back together. Tape the new portion of the film to the previous cut to create a continuous loop once again. Of note, you are going to lose the portion of the film that you’ve removed. Therefore, you should think carefully before you go through this process. Even though you can take the film back together using Scotch tape, you’ll probably want to use actual splicing tape.
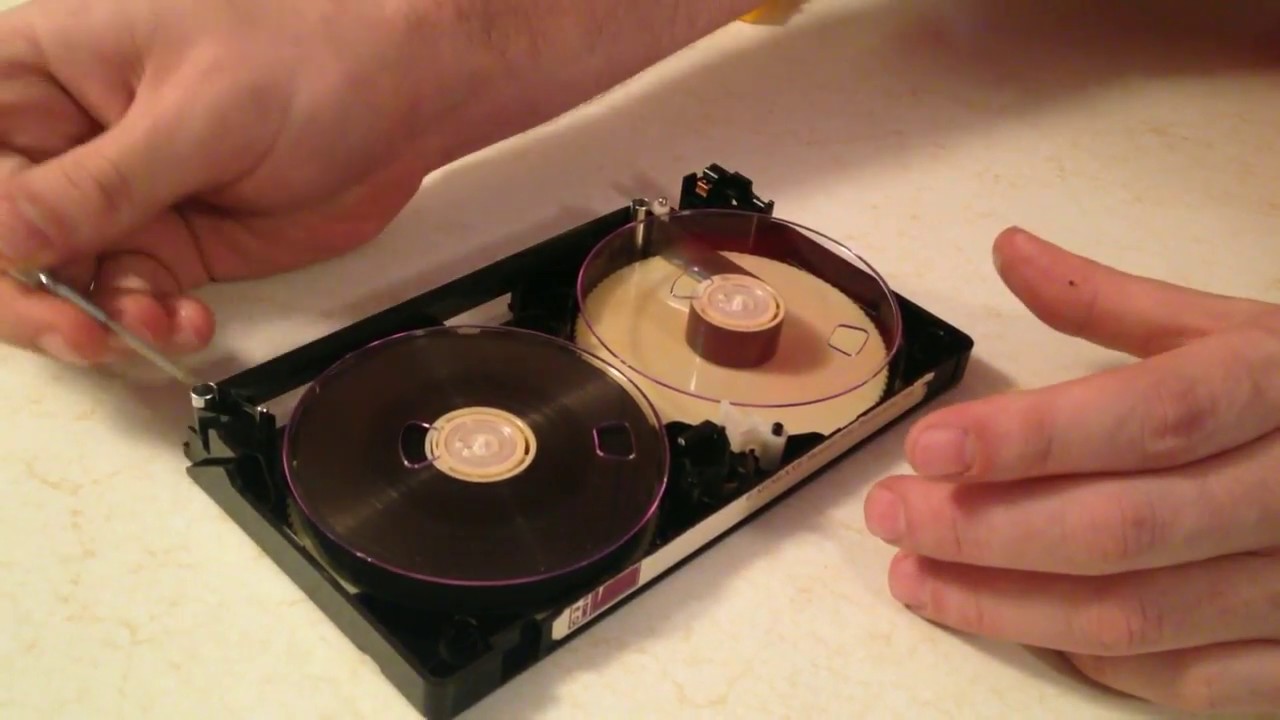
Once you are done, run the tape through the pinch roller. Then, wrap it around the cassette. You might also want to protect your film from future damage by working with the team from ARS Video. That way, you can convert your VHS cassette to digital footage you can view later.
Common Issues VHS Tapes Face
source: pinterest.com
Unfortunately, there are a lot of issues that VHS tapes can develop. Some of the most common problems they have include:
- Deterioration: VHS tapes are not designed to last forever. There is a chance that the tape could deteriorate over time. If this happens, the tape could get ruined, making it completely unusable. You need to protect your tape from harm by keeping it out of the sun, controlling the temperature, and keeping the humidity level relatively low. Even if the damage is minor, it will impact the quality of the footage. Remember that you can also protect your VHS footage by digitizing it.
- Corruption: There is also a chance that the footage on the VHS cassette might be corrupted. Essentially, this means that the footage is lost and it cannot be recovered. For example, something may scramble the footage on the VHS tape, meaning that you cannot adequately view the footage when you decide to view it. The audio might become lost, and the video might become pixelated. All of this means that you will have a difficult time viewing the original footage.
source: pinterest.com
- Mold Growth: If you do not store your VHS cassette inappropriate conditions, you could end up with mold growth. Mold tends to grow on VHS cassettes when they are left in damp, warm places. Then, the spores from the mold will eat into the oxide coating on the surface of the VHS cassette, causing the tape to stick to itself. Even though you might be able to clean and remove the mold, it is difficult to reverse the damage. Therefore, the best way to deal with this issue is to prevent your VHS cassette from being subjected to mold growth in the first place.
These are just a few of the many issues that your VHS cassette might develop. It can be frustrating if your footage is damaged, which is why you need to do everything you can to protect your VHS cassette from harm. One of the ways to do that is to take your VHS cassette and convert it to a digital format. That way, you can reserve the VHS footage for future generations and prevent it from being damaged.