
There’s nothing quite like the feeling of having long, luscious lashes. And now, thanks to lash lift kits, you can get that look without relying on falsies or expensive mascara formulas. But if you’re not careful, your lash lift may not look as good as it could.
Here are nine expert tips to make sure your lash lift looks perfect every time!
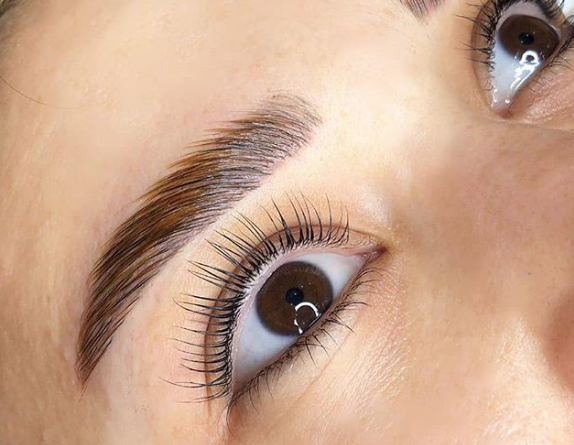
Choose the Right Lash Lift Product
source: theadventuretome.com
With so many lash lift kits on the market, it can be difficult to know which one to choose. The most important thing is to find a product that is of good quality and that will work well for your lashes. Do some research and read reviews to find a product that is right for you.
There are a few things to keep in mind when choosing a lash lift kit. First, consider the type of lashes you have. If you have short or sparse lashes, you will want to choose a kit that includes a lash serum or conditioner to help promote growth.
Second, think about the look you want to achieve. If you want natural-looking lashes, look for a kit that includes clear silicone pads. Finally, be sure to read the instructions carefully before use and follow all precautions.
Follow the Instructions
Anyone who has ever attempted to give themselves a beauty treatment at home knows that sometimes, things can go wrong. This is especially true when it comes to lash lifts.
The last thing you want is for your lashes to end up looking uneven or, worse, damaged. By taking the time to read the instructions and follow them carefully, you can avoid any mishaps and ensure that you get the best possible results from your lash lift.
Prepare Your Lashes
source: pinterest.com
One of the most important steps in the lash lift process is making sure your lashes are clean and free of makeup before you begin. You can do this by using an oil-free cleanser and a cotton pad to remove any dirt or makeup from your lashes.
This step is important because it helps to ensure that the lash lift solution can properly adhere to your lashes. In addition, it also helps to prevent any irritation or sensitivity that could be caused by the solution coming into contact with dirt or makeup.
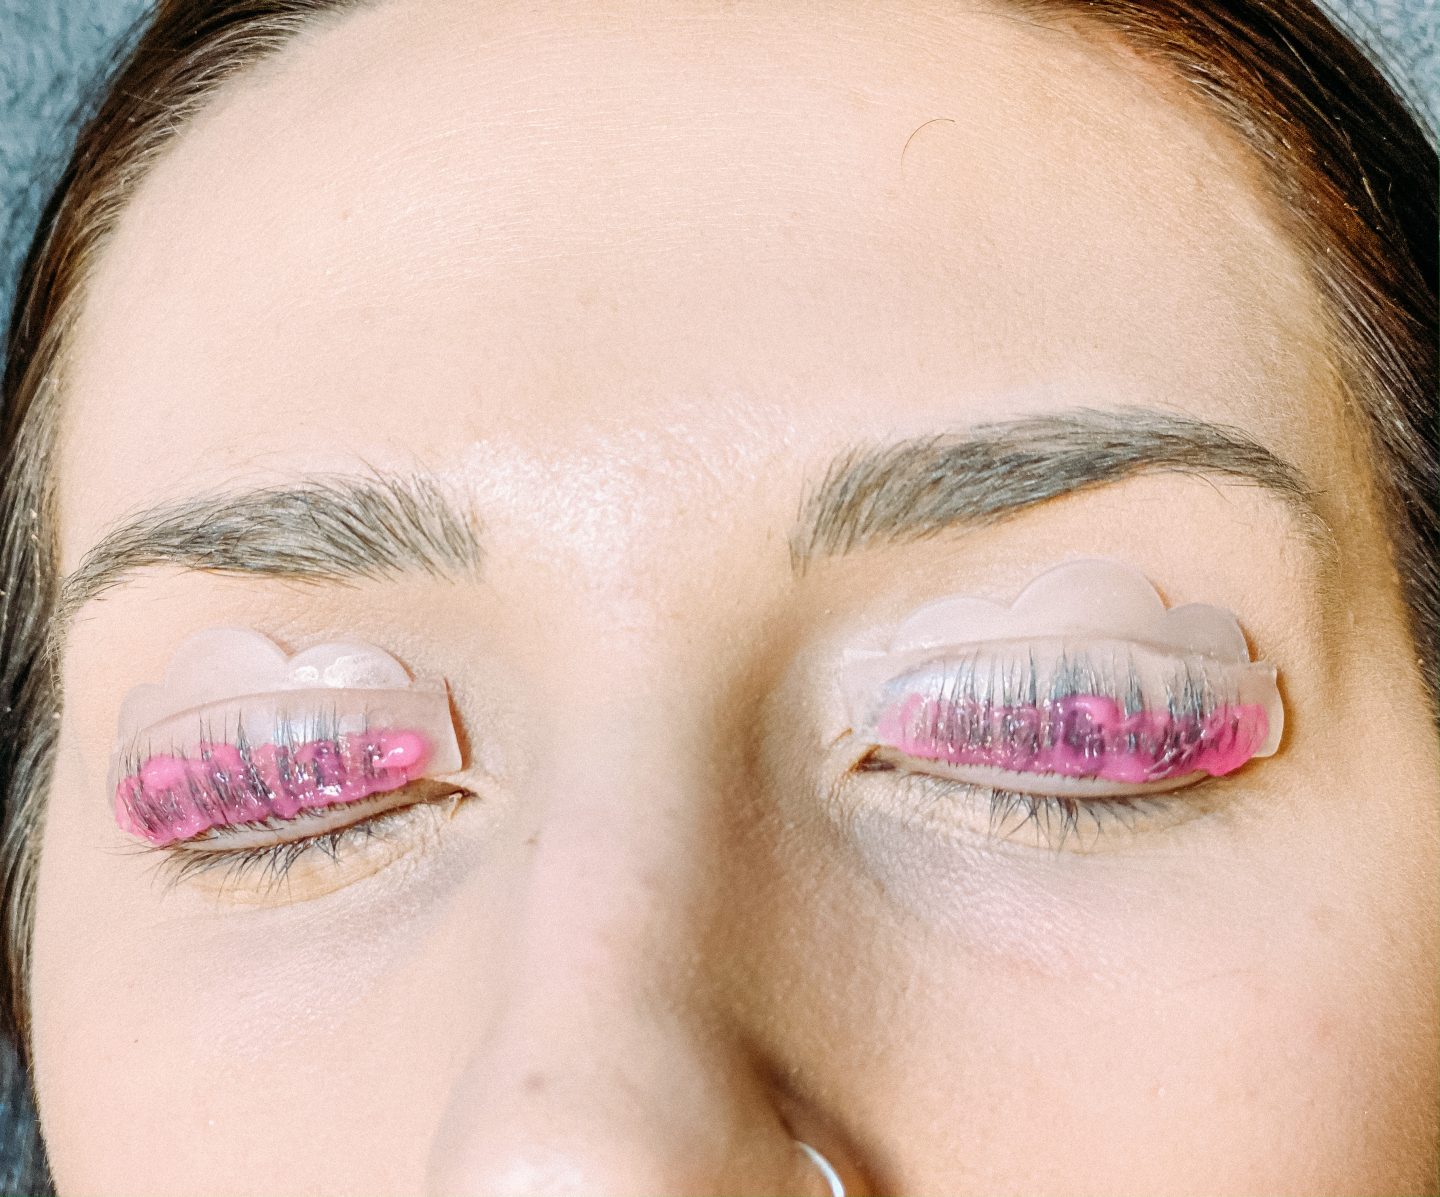
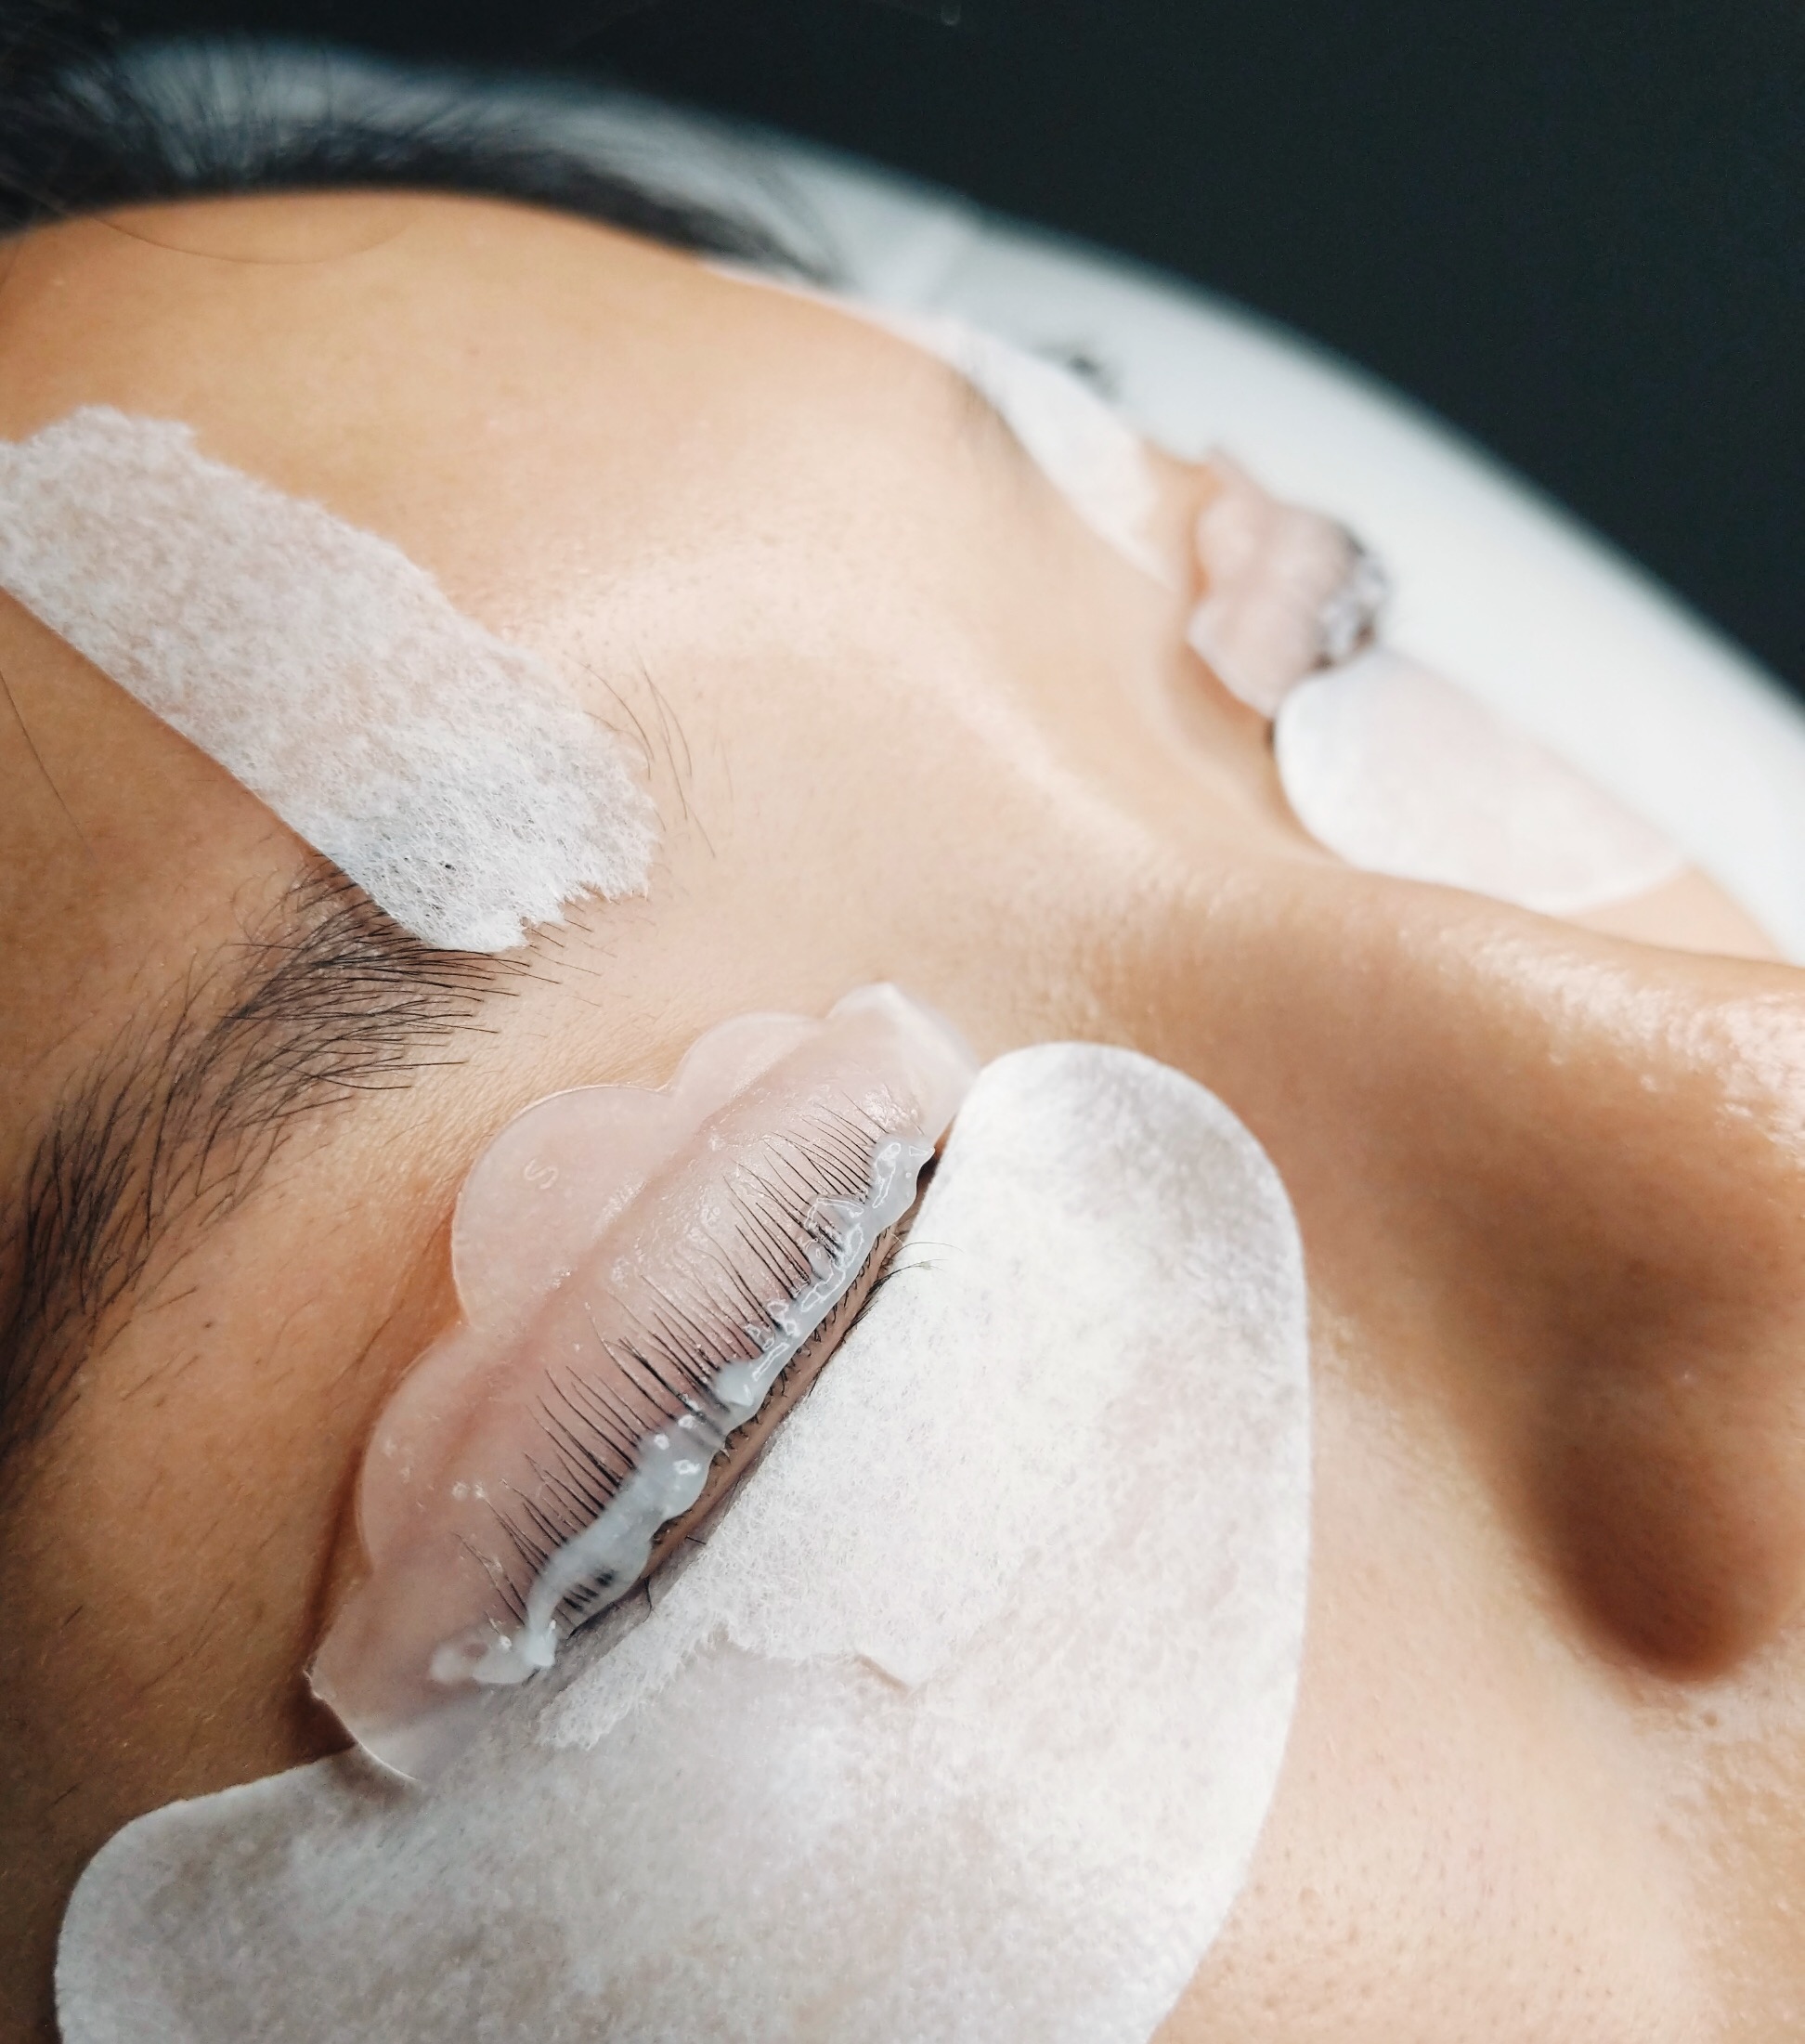
Apply the Lash Lift Rods
The next step in the lash lift process is to apply the lash lift rods. These are small plastic rods that come in different sizes, so you’ll need to choose one that is appropriate for your lash length and desired curl.
Once you’ve selected the right size, gently place the rod at the base of your upper lashes and hold it in place. The rod will help to give your lashes an even lift, so be sure to take your time and place it precisely where you want it.
Apply the Lash Lift Solution
source: pinterest.com
The lash lift solution is applied to the lashes after the rods have been in place for a few minutes. This solution helps to break down the bonds in your lashes, making them more pliable and easier to curl.
Be sure to follow the instructions on how long to leave the solution on your lashes. The longer you leave it on, the more dramatic the effect will be. However, be careful not to leave it on for too long, as this can cause irritation or even burns.
Once the desired amount of time has elapsed, thoroughly rinse your lashes with warm water.
Remove the Lash Lift Rods
Removing the lash lift rods is a delicate process. Gently hold onto the ends of the rod and slowly slide it outwards. Be careful not to pull too hard, as this can damage your lashes. If you find that the rod is stuck, you can use a cotton swab dipped in oil to help loosen it. Once the rod is removed, you will likely need to trim your lashes.
Apply the Neutralizing Solution
source: pinterest.com
Applying the neutralizing solution is the next step in the curling process. This will help your newly curled lashes stay in place. Be sure to follow the instructions on how long to leave this solution on your lashes. The goal is to set your lashes so they maintain their curl.
Gently remove excess solution
Once the allotted time has passed, gently remove any excess neutralizing solution from your lashes with a cotton pad or Q-tip. Be careful not to rub or scrub your lashes, as this can cause them to become uncurled.
Instead, lightly pat your lashes dry. You may also want to use a lash comb to help separate and shape your lashes.
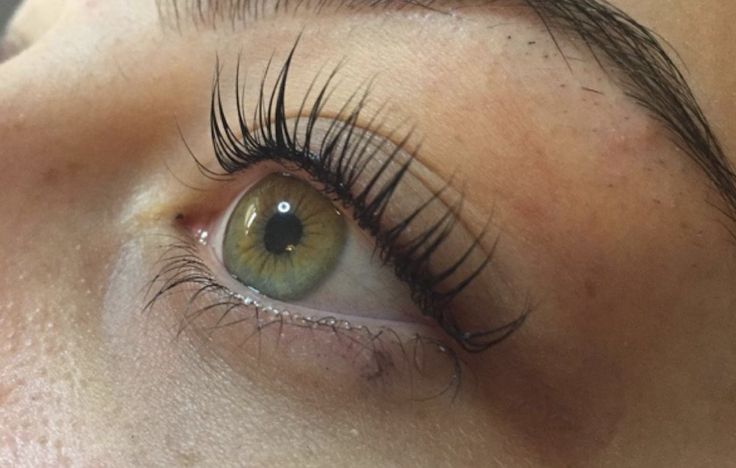
Apply Lash Serum
The final step is to apply a lash serum or conditioner to help nourish and strengthen your lashes. This will also help to keep them looking healthy and lustrous between lash lifts.