
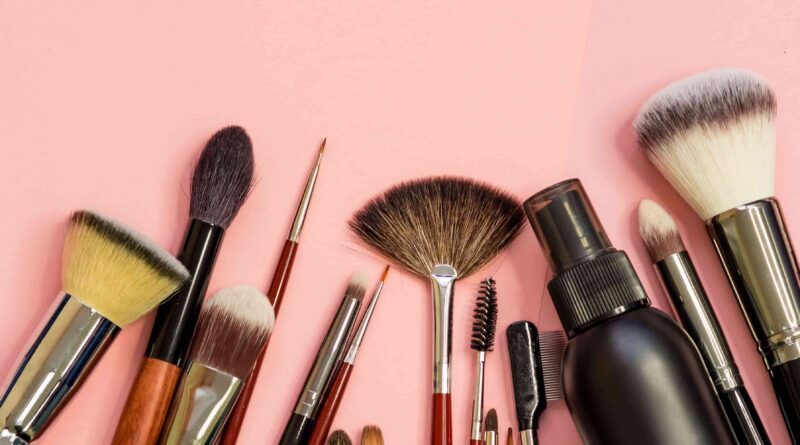
Beauty and fashion are the goals that every girl wants to achieve anyhow, for achieving they often ask for dead sea cosmetics. When your cosmetics help you to give you a new look, then you must think about the care of your make-up tools. As we have thought that many women might get in trouble if they don’t clean up their cosmetics’, because until you don’t make it sanitary, the number of bacteria will increase and which can cause infection to you and can make your skin rough and dull. Unfortunately, those make–up kits will turn into hazards for you, thus if you are willing to use them frequently then you need to take their care frequently.
Make-up is not only make-up; it is a loyal companion for almost every girl. So as composition helps one to get a new way to bring themselves out with a new glow and shine, and then we must keep that structure gizmo in a well-mannered manner. Isn’t it? So why don’t you clean the aesthetics? It may give you a fresher look after making that tool hygiene, dirt free, and also gratis from bacteria. You may feel that you are using those cosmetics for the first time, as you felt the same when you bought your make-up apparatus for the first time, the thrill of using new tools for the first time bestow a gratifying feeling, so to maintain that excitement and pleasant feeling, you must know how to clean your make-up tools? I Hope, I will give you all of the best ideas to make it dirt-free.
source: maids.com
Looks are important to us, and looking good with the help of aesthetics is also important for us. But, in the busy schedule, you may forget to maintain the cleanliness of the beauty, which is a loyal cohort for all of us that are – cleaning your make–up tools. And not only making them hygiene also making them pure from bacteria which are going to damage your skin. Pseudomonas aeruginosa, Staphylococcus aureus, Escherichia coli are the most common perpetrator, which have high rates of fungal combination. Some may be judging that customary dust wouldn’t influence their apparatus and gorgeousness, but they are erroneous; it can twirl into an exposure, so what can we do to get rid of this dilemma? Don’t you agonize on it; we have got up several ways to sanitary your aesthetic and craft it free from bacteria. Nonetheless, it’ll amplify the robustness and compatibility of your tools. After you are done with the procedure of sanitizing the tools you will feel like you have the new one in your kit.
Let’s have a look at, How to clean makeup tools?
There are various ways on which one can rely on, but following them unevenly can make your work messy instead of clearing it. Thus, a step – by – step process is a must for achieving any of the goals. Moving further for the first step.
-
Cleaning your make up sponge
source: eonline.com
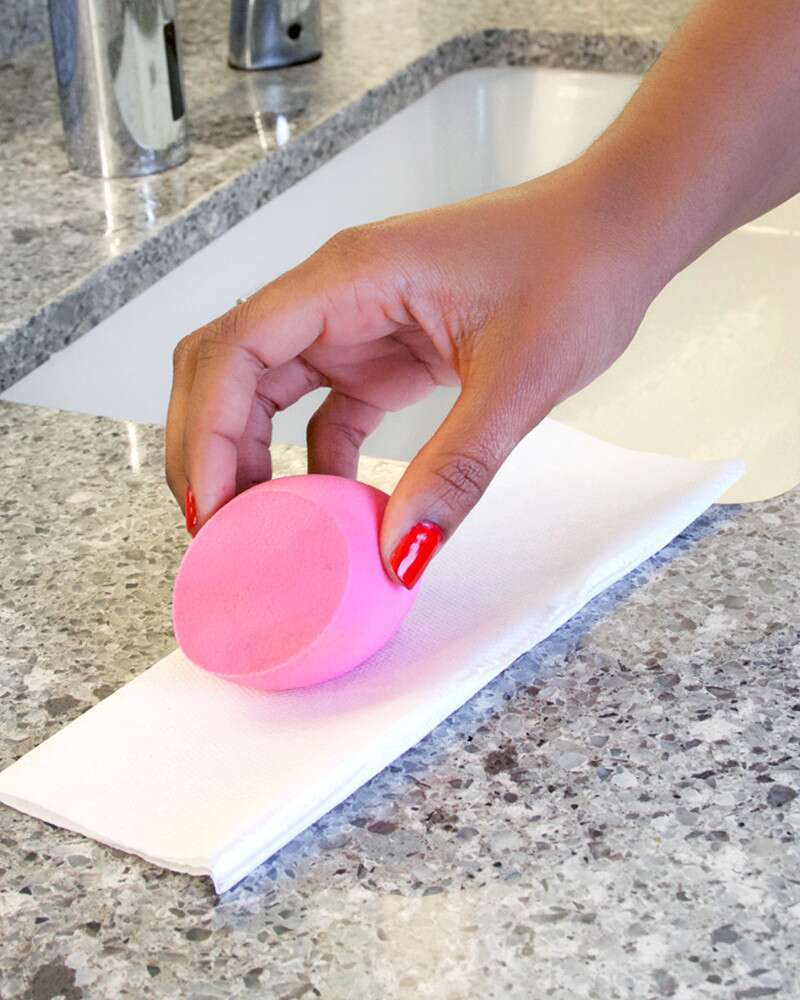
The most basic tool which is used for applying foundation and other cosmetics is nothing but a sponge. Usually, before opting for the brush, a sponge is used, because a sponge covers the maximum area in one time while in the case of a brush it is used for applying aesthetics at a particular place. As the sponge is used widely and frequently, you’ll notice that many types of foundation and cosmetics are stuck with it, this happens because our skin and foundation contains moisture in them as a result because of that moist condition foundation get a way to stick with the sponge. Most probably the sponge is made of a material that is difficult to get cleaned out, but do not worry, we will let you know a method with the help of that method one can easily get a cleaned sponge for further usages.
All you need to do is take a small mug or bucket pour some hot water in it also add some drops of shampoo for better cleaning purposes, now simply drop your sponges in that water one – by – one, let it be there in for 15 – 20 minutes; after that take it out and clean all the foundation out of it with help of your fingers or cleaning brush (while cleaning with brush try cleaning softly) this process would take you a bit more time as if you are cleaning it after a long time. Before you move ahead for the drying processes, rinse the sponge, and allow it to air dry for fastening the process you can use a towel or a clean cloth piece.
-
Clean your makeup brushes
source: allure.com
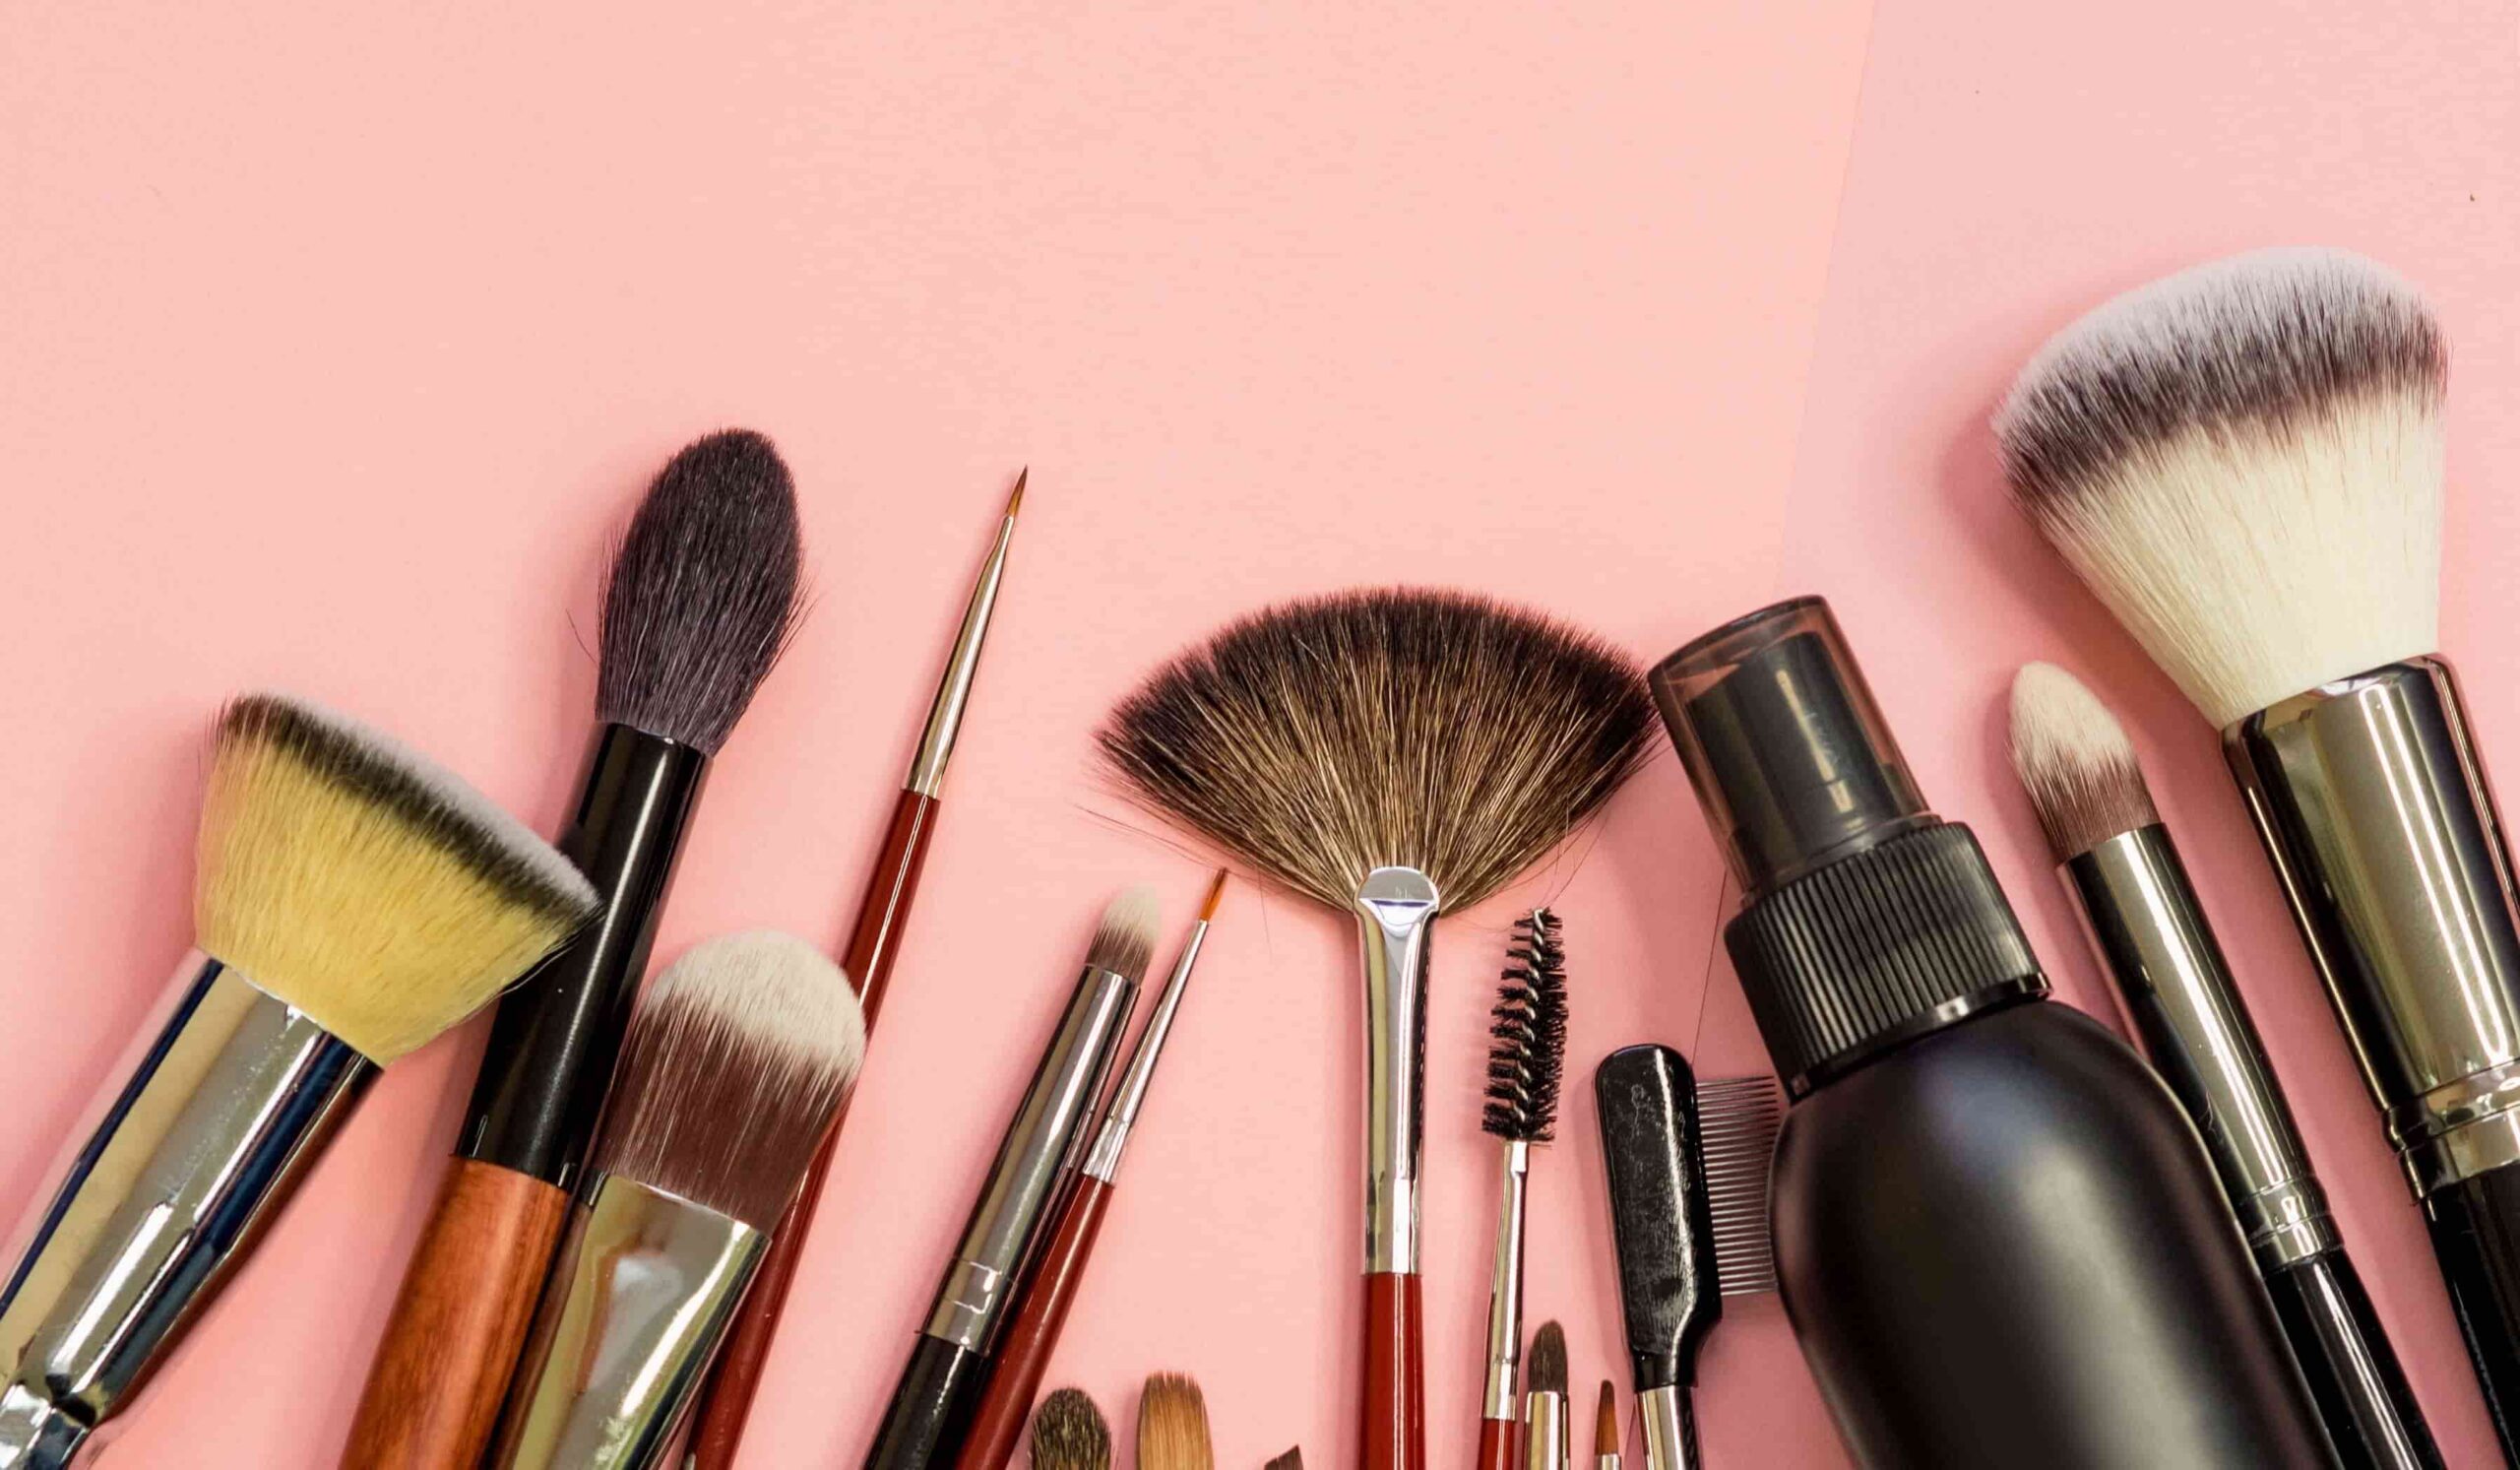
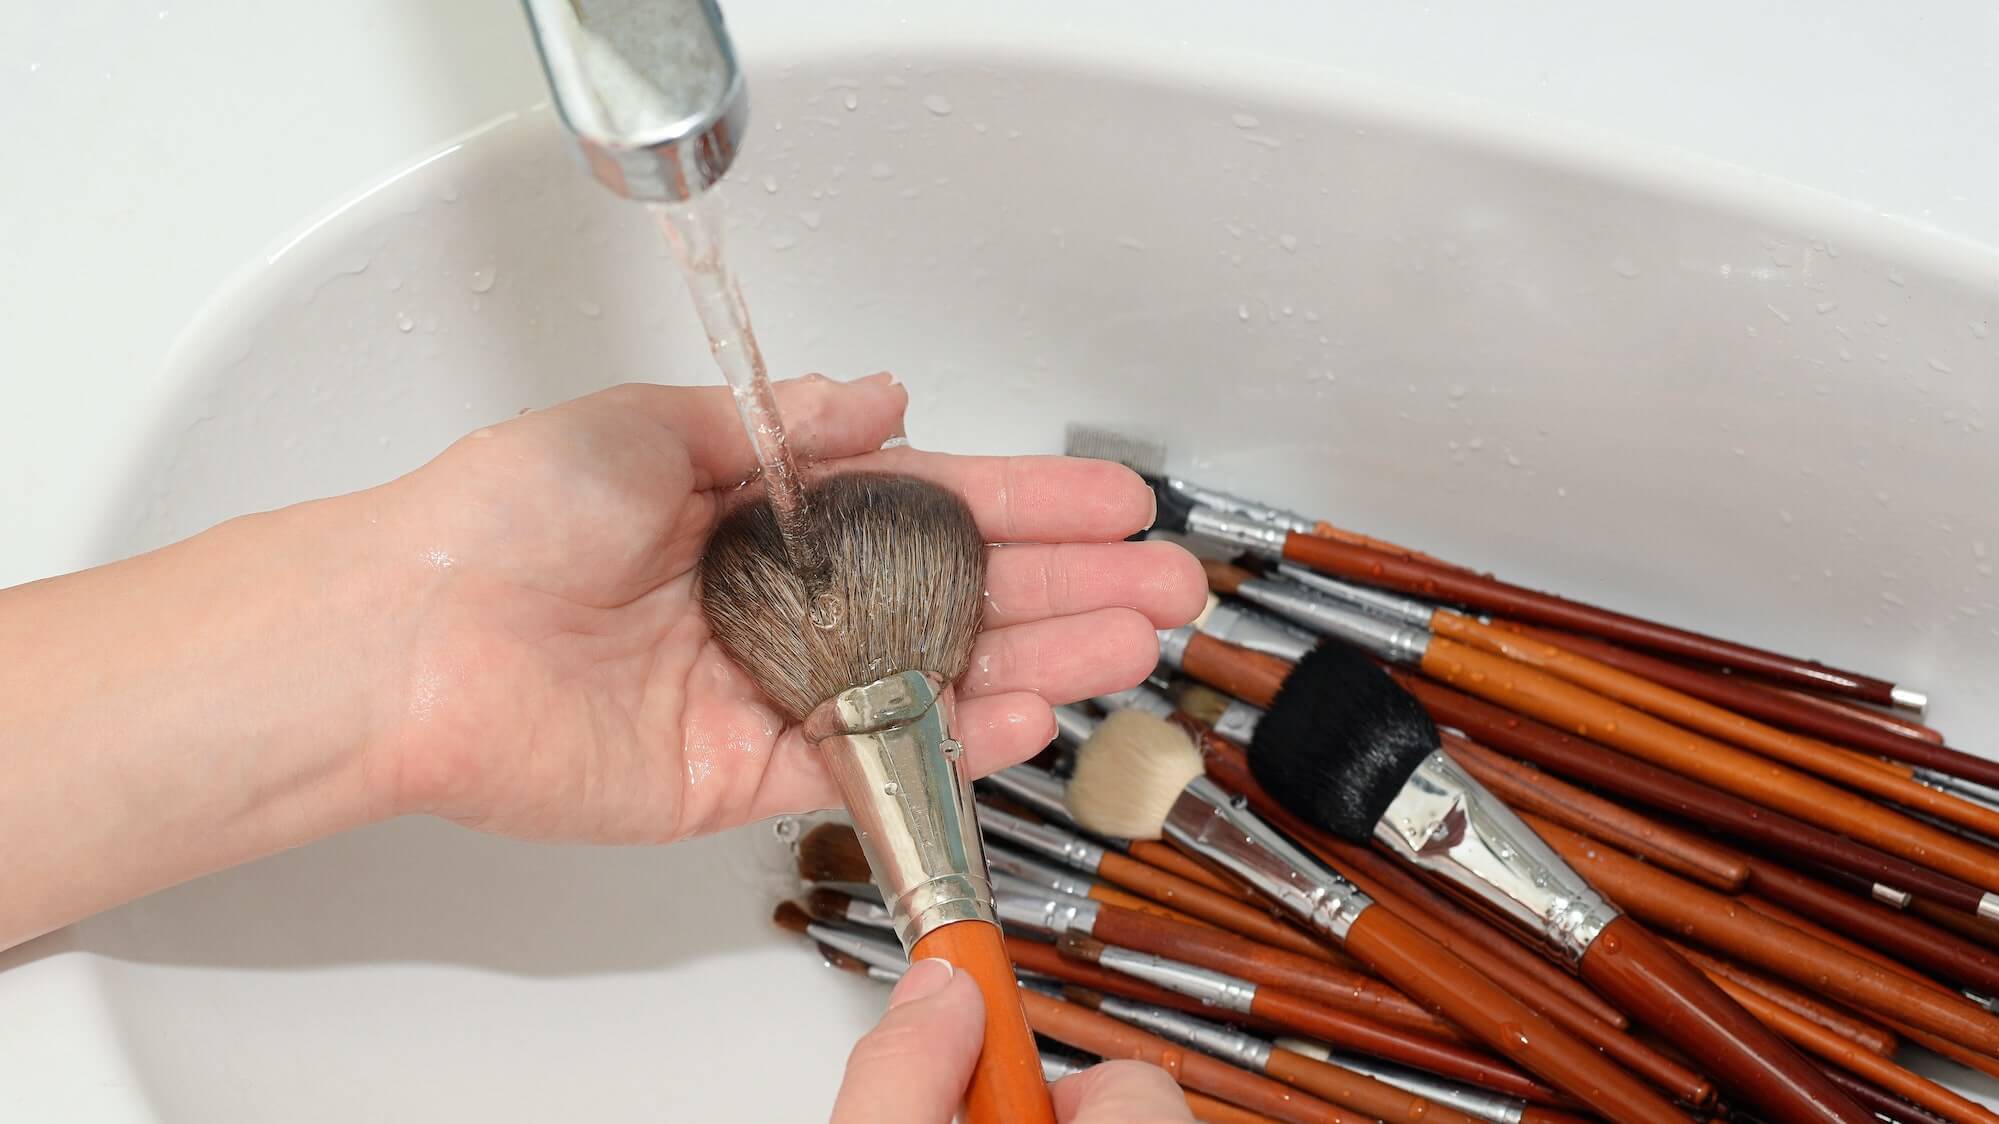
As we discussed after the sponge the most basic tool used while doing makeup is nonetheless but brushes. Brushes are used for providing shade or you can say at the time of having a good finish, thus its bristles contain a lot of dust particles in it, not only generated by your aesthetics and cosmetics but also because of the dust particles present in the atmosphere. Even the bodies of the brush expect bristles to get dirty as sometimes we do contact with our body hand, but the main part on which you must look over is the bristles. Cleaning out the bristles is not an easy task, you have to be careful as a bit of power applied can disintegrate all the bristles from the brush and I’m sure that you won’t like it at all.
Take shampoo, apply it on the bristles and start washing it gently with your fingers, then rinse it with water streaming down. Is that enough? Though you followed this method it doesn’t clean it completely, now make a solution comprising of warm water and vinegar, mix them in the proportion of 65:35, dip your brush and all you need to do is just swirl around, you’ll feel like you are a kid but after swirling it for a couple of minutes rinse it out again in the same way as earlier. At last let it get dried up, for instance, drying you can use a towel or clean cloth piece.
-
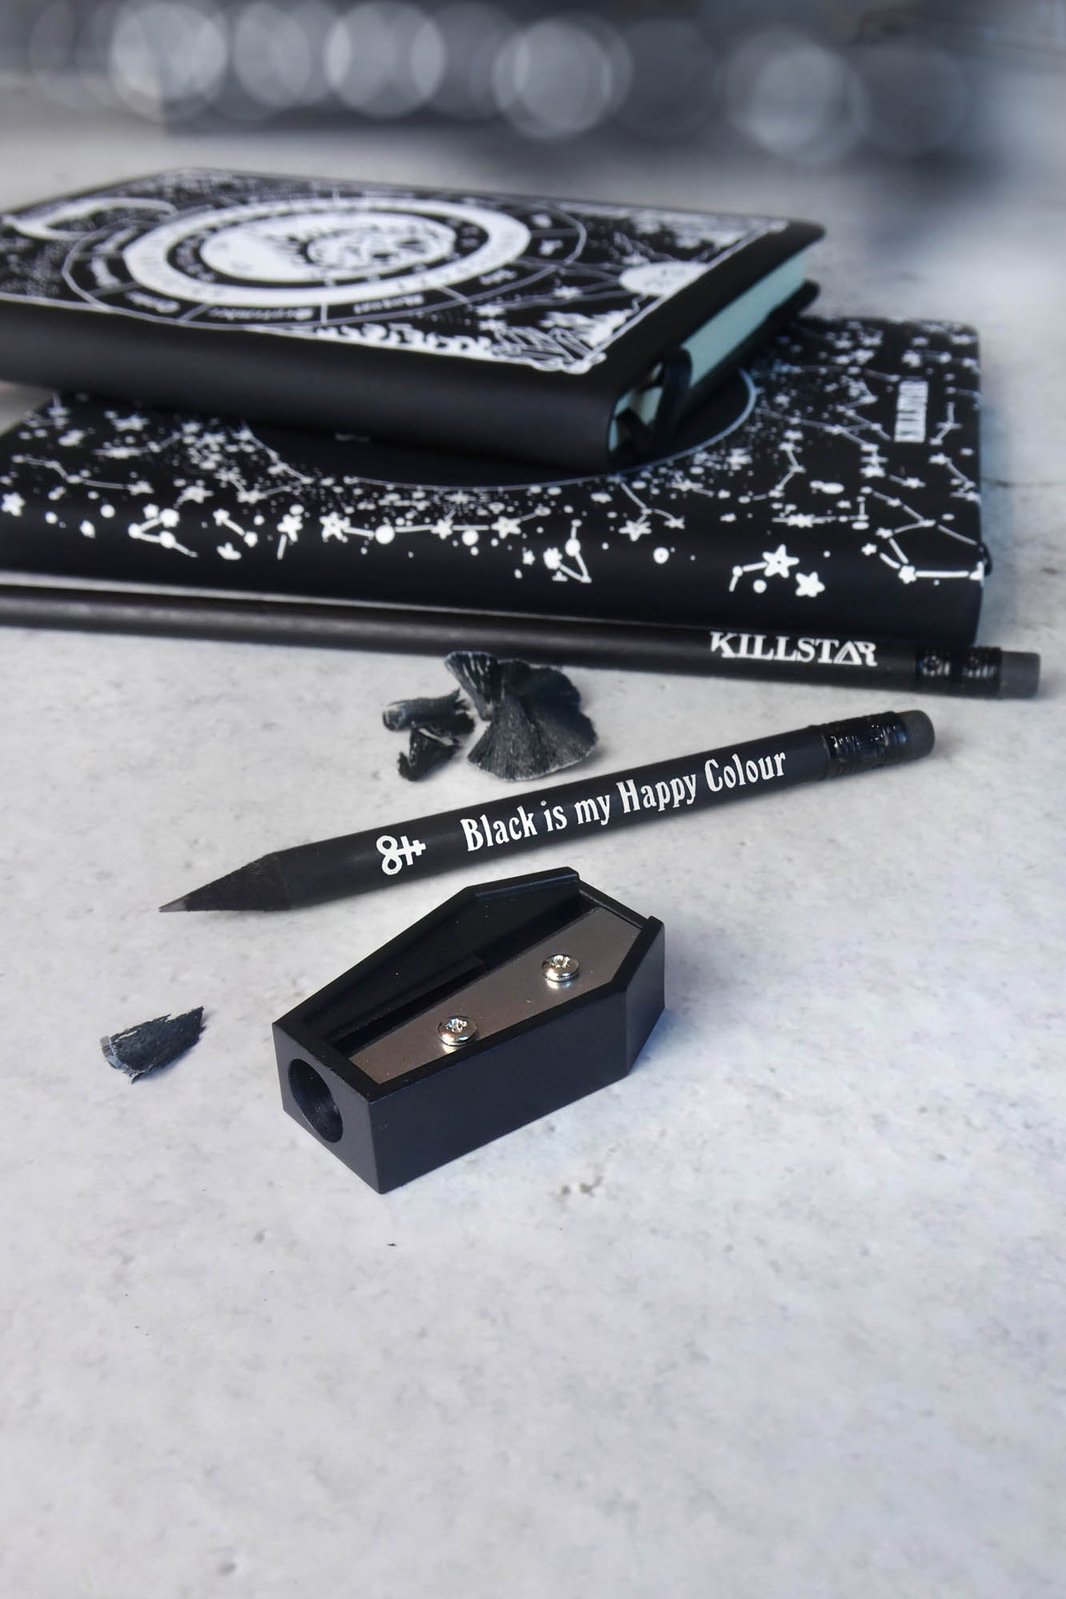
Makeup pencil sharpeners
source: shopify.com
One can relate to it as a powerhouse of dirt particles, all of your make up pencils get sharpened with the help of this tool, as a result many minor dirt particles of your make up get mix with each other as a result whenever you’ll utilize that tool for the second time you’ll notice that your pencil will get sharpened properly but it will come out with many dust particles which can directly affect your beauty and health. Maintaining it cleaned regularly is a must for achieving good beauty and good health too.
To clean sharpeners take a brush, dip that brush into any washing agent like hydrogen peroxide, after that start rubbing the edges and every part of the tool properly, after successful rubbing of the tool; you need to simply rinse and dry it out.
Note: Not only does your make up pencil sharpener contain dirt in it, be aware of your child’s sharpener too because it may contain a huge amount of lid and direct inhalation of lead could lead to a hazard.
-
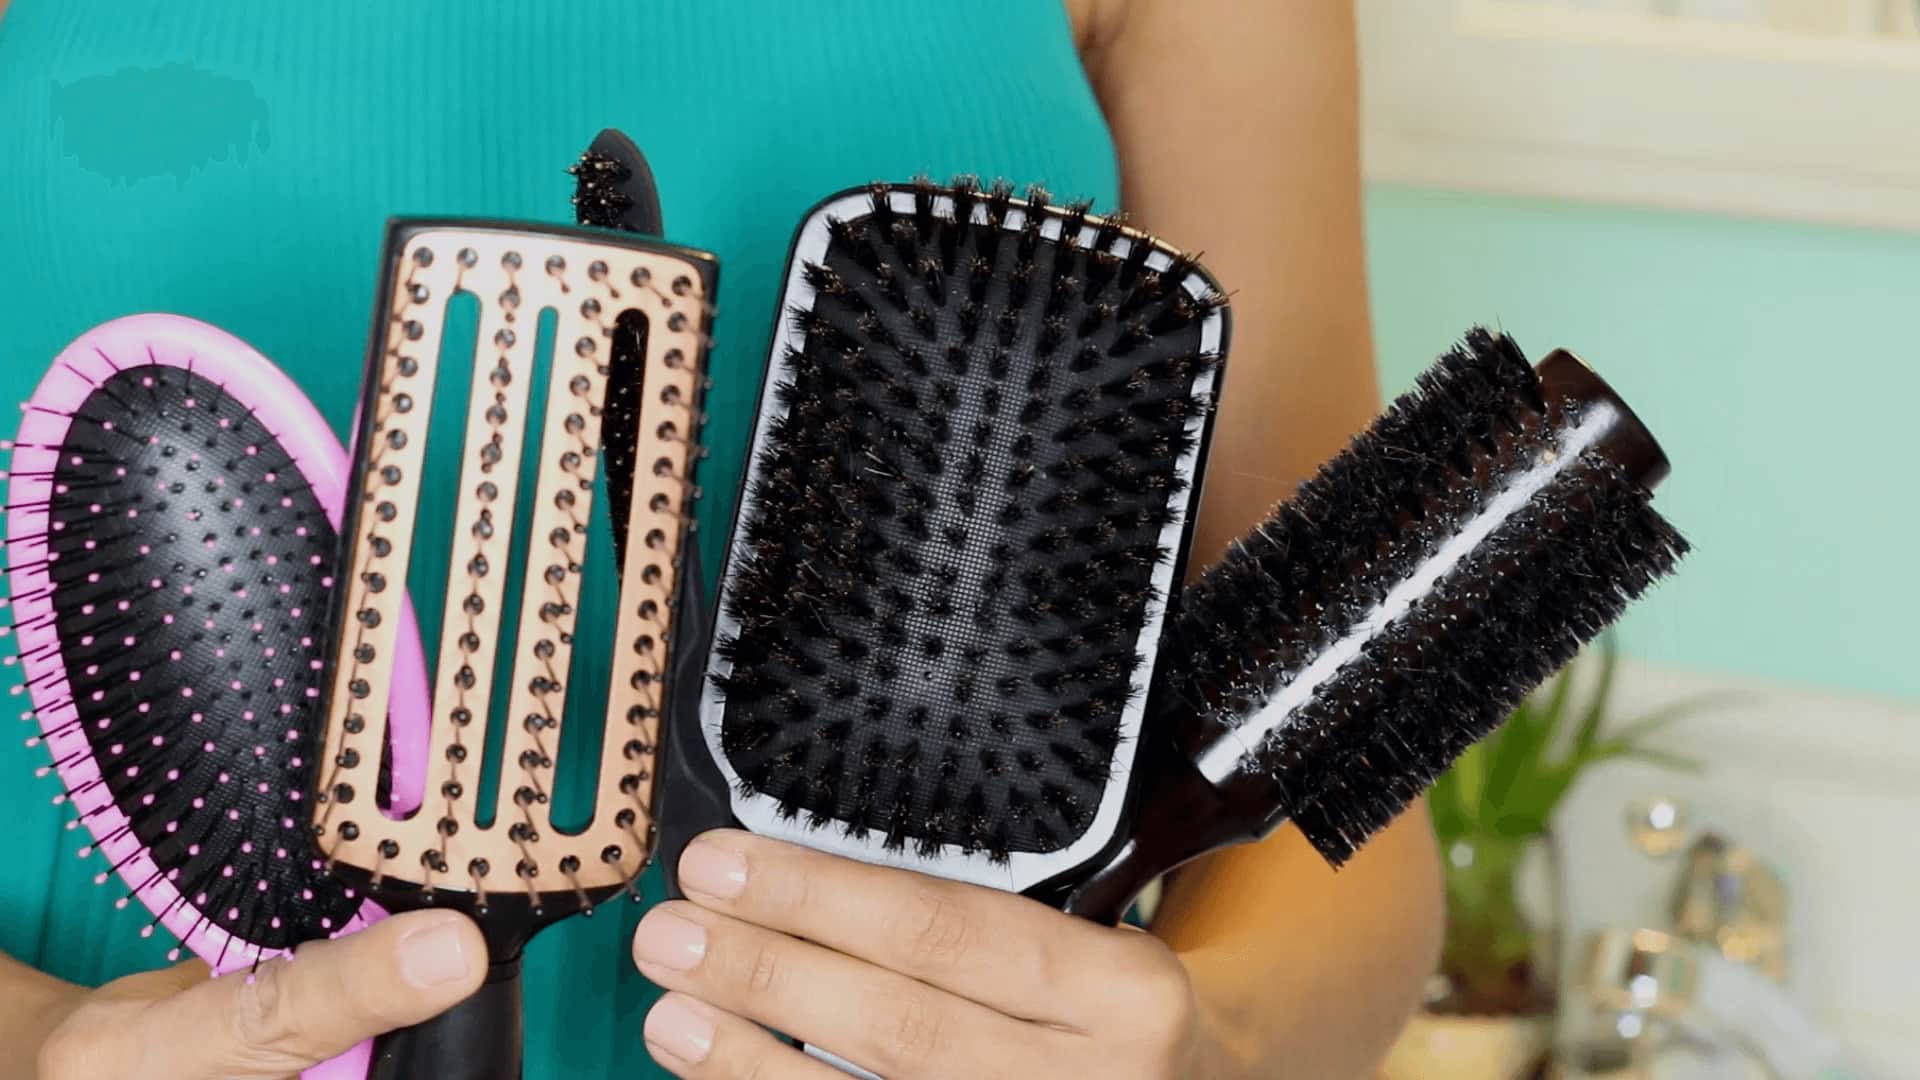
Cleaning your hairbrushes
source: today.com
Every one of us gets frustrated by looking at the hunch of hairs present over on the hairbrushes for a long time, furthermore, hairbrushes contain all the dirt present in our hair whether there are dust particles or dandruff, thus one can say that a used hairbrush looks messy and then we start using it only at the required time, while when it was new and containing no dirt at that time we use it a lot, you know why? Because at that instance it was very clean and efficient.
Removing hair and dirt from hair brushes is a difficult task to do along with that it is time taking too. At first, take a bowl or bucket with having solution of water and shampoo dip the hairbrush in that solution and let it soak, what happens is the hair present in the brush will soak water and become heavy as an outcome hairs start disintegrating themselves but there will be a large amount left behind even after this process, so use combs and your fingers to remove the utmost hairs as you can, moreover, you can even rely on the brush for scrubbing purposes just scrub it as well as you can. If every hair is removed then it is well and good, if not then don’t worry much simply rinse it with warm water and then put it on a towel to get dried.
-
Cleaning your metal tools

source: wixstatic.com
Metal tools usually dust-free from outside but the part which is used for makeup purposes can contain a huge amount of dirt, especially tools like tweezers, eyelash curlers, nail clippers, and much more. One best thing about the metal tools is that one can wash them thoroughly with water and hard shop, or even you can rely on semi – concentrated acid, but make sure whatever the solution you are using must not disintegrate the luster of your tools, and arrange tools in makeup bag. After washing it you need to wipe it out with the help of cotton balls, before using those cotton balls soak them in the rubbing alcohol, you would be wondering why rubbing alcohol? Rubbing alcohol will further clean the tools that to provide a good luster effect to it before you are about to dry them out be aware to sanitize their surface for utmost cleanliness. Let it dry for a couple of minutes.
-
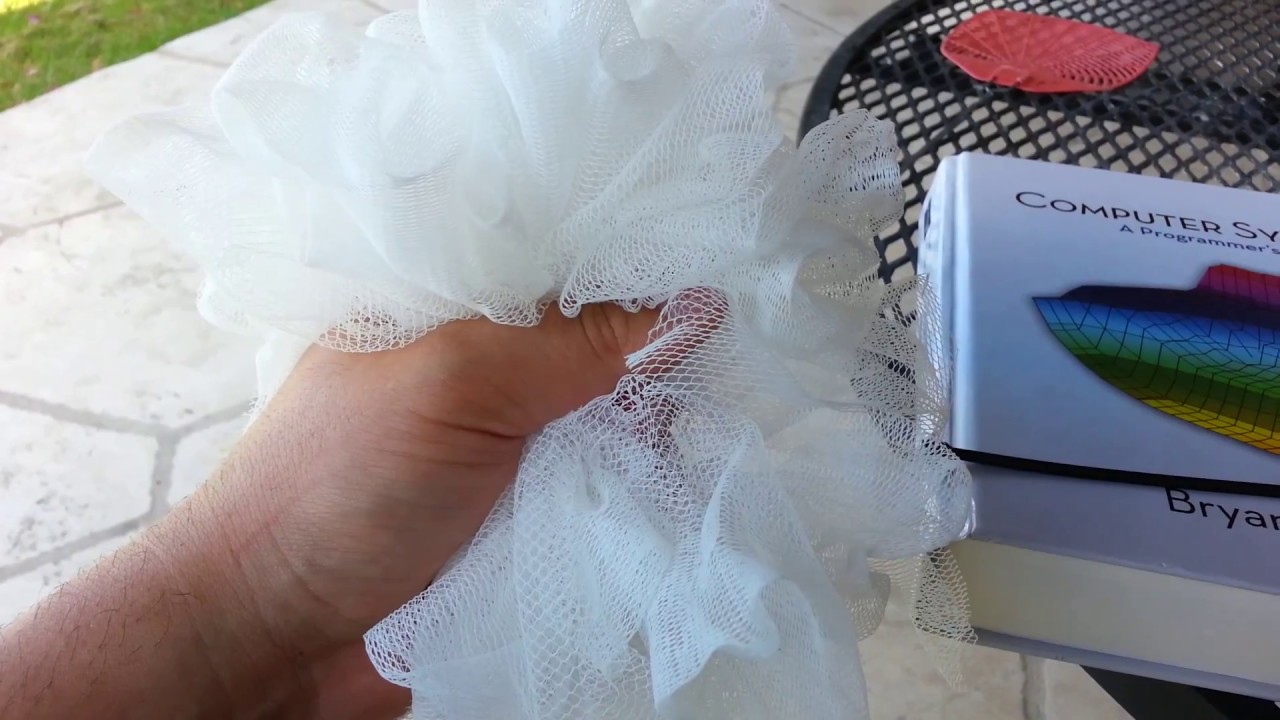
Clean shower loofah or puff
source: youtube.com
Loofahs are used mainly for scrubbing our body which contains dirt, oils, dead skin, etc. as they absorb it whenever we scrub ourselves with loofah or puff. Whenever you use them make sure to clean them, as that dirt, dead skin, and oil would stay there and help bacteria and microorganisms to grow, then after your loofah or puff will become a hazard for you, in the outcome you are simply going to replace it; that is nothing but a waste of money and time. To save money and time keep it maintained every day while the process of cleaning loofah or puff is the easiest one. You just need to rinse it with the help of running water and that’s it you are done, but this will not maintain your loofah or puff cleaned for a long time.
To maintain it cleaned for a long time you need to wash it thoroughly with the help of diluted bleach solution, to make bleach solution add warm water in a bucket and then add 2 – 3 cups of bleach in it, lay your puff or loofah in that solution and let it soak up the solution after that scrub it normally with your palm, at last rinse it and let it dry.
-
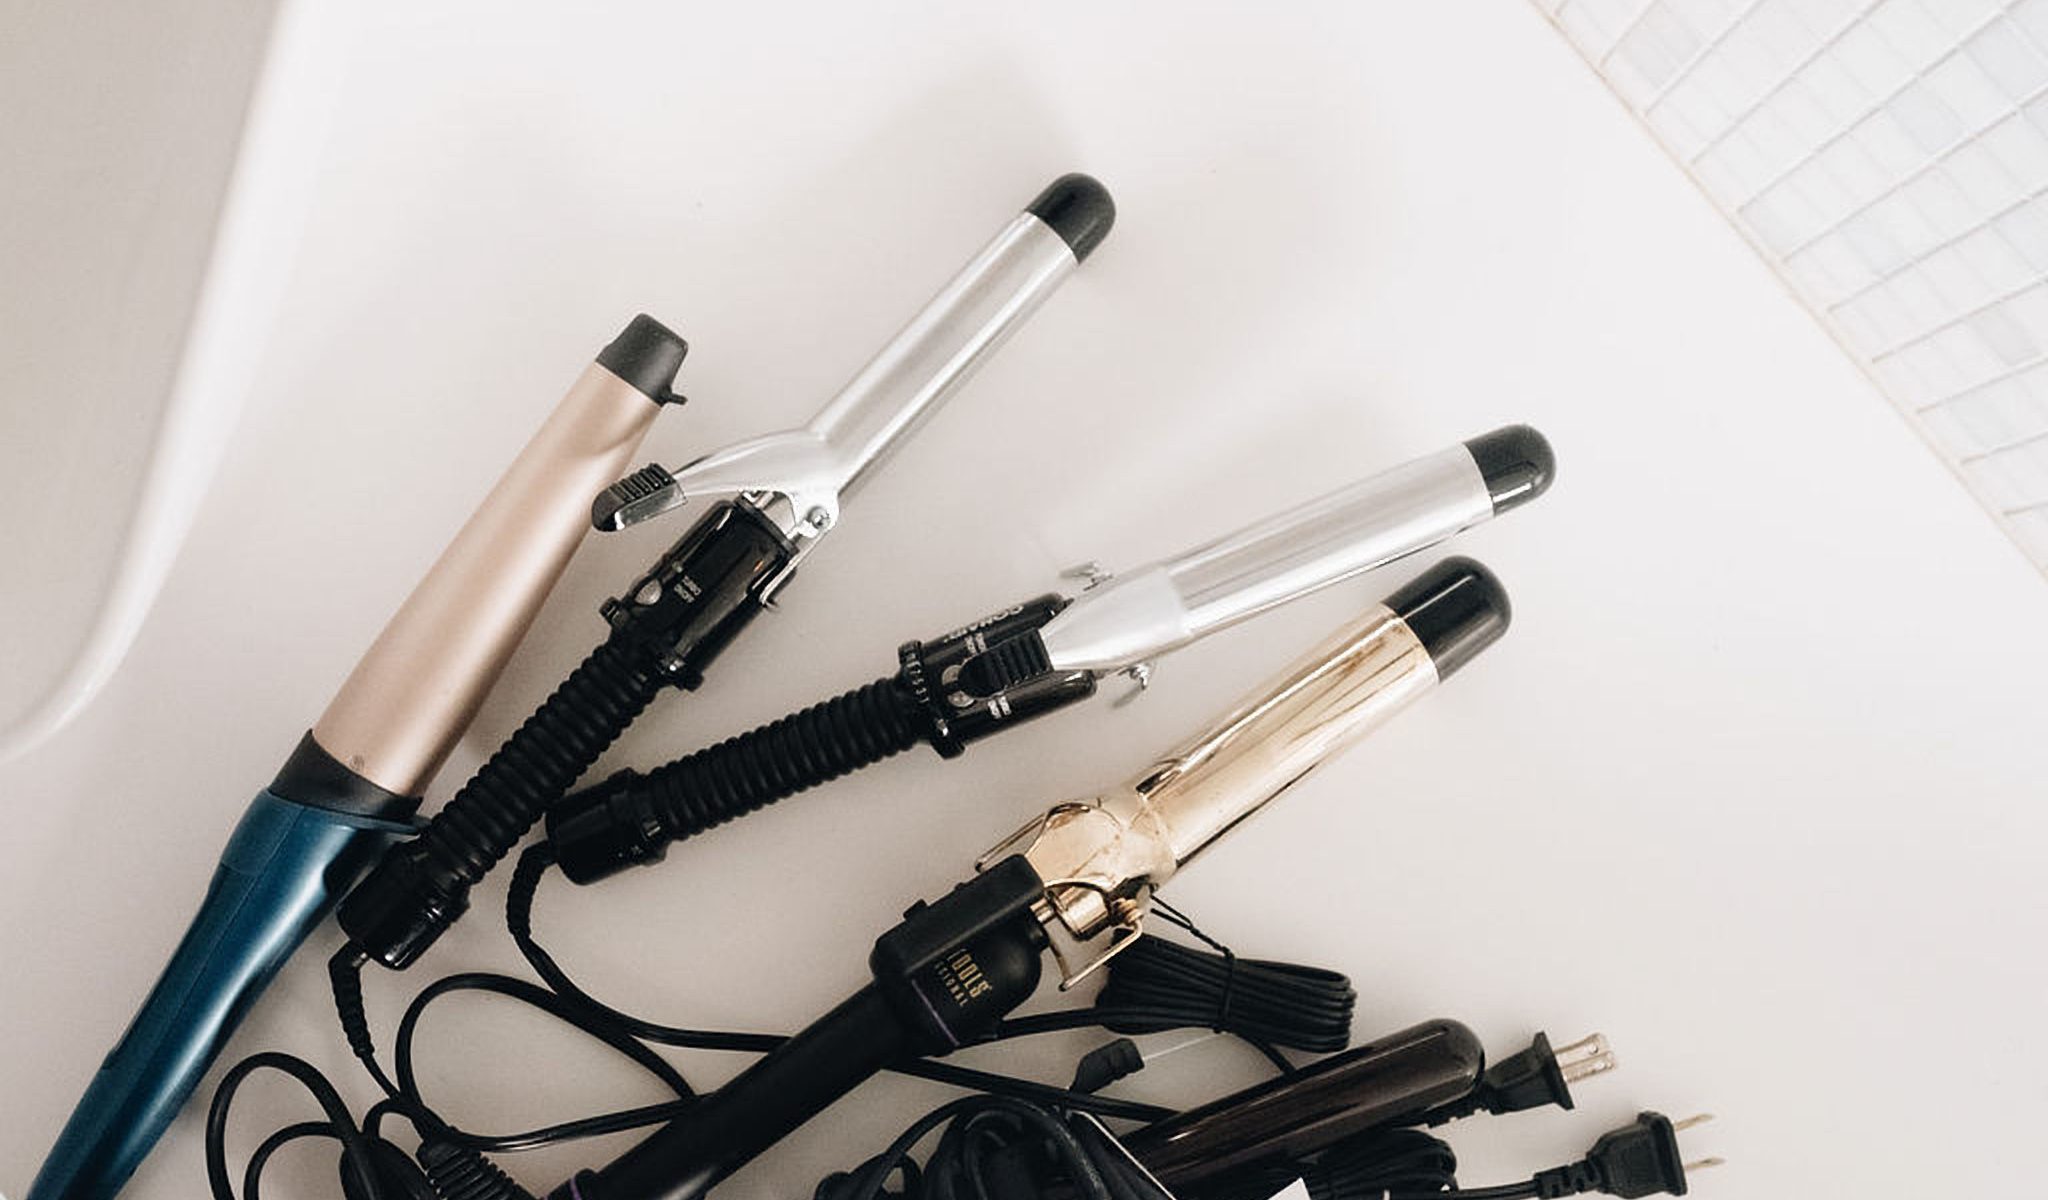
Cleaning your curling and flat irons
source: pinterest.com
Curling and flat iron tools are usually used for the purpose of curling or straightening hair, as a result whenever hair contains oil in it that oil gets stuck and you’ll then notice that your tool will then encompass any sticky areas. Now the question arises, can we clear it by simply dunking them in the water? The answer is obvious and clear “NO”, the cleaning process for such tools is way trickier and riskier.
Before you start cleaning make sure that your tool is unplugged and cooled down. At present craft a way out of baking soda with water. Take a clean cloth or scrub, dip it in the solution and gently scrub only the sticky areas. Don’t use that solution for cleaning anywhere else, for the other gunk present on your tool; take a dried and clean cloth and clean it out.