Rotary cutter has made sewing work more convenient, unlike before. Making quilts might turn out to be stressful without this machine. Gone are the days when people used to cut fabric using scissors. Nowadays, with this gadget at hand is very fulfilling. It saves on time and reduces your workload with no time.
Additionally, it is easy to use and, at the same time, environment friendly. You can either decide to use it domestically or for commercial purposes. Knowing how to operate this machine the right way is great to get better results. I will show you how a rotary cutter works.
What’s A Rotary Cutter?
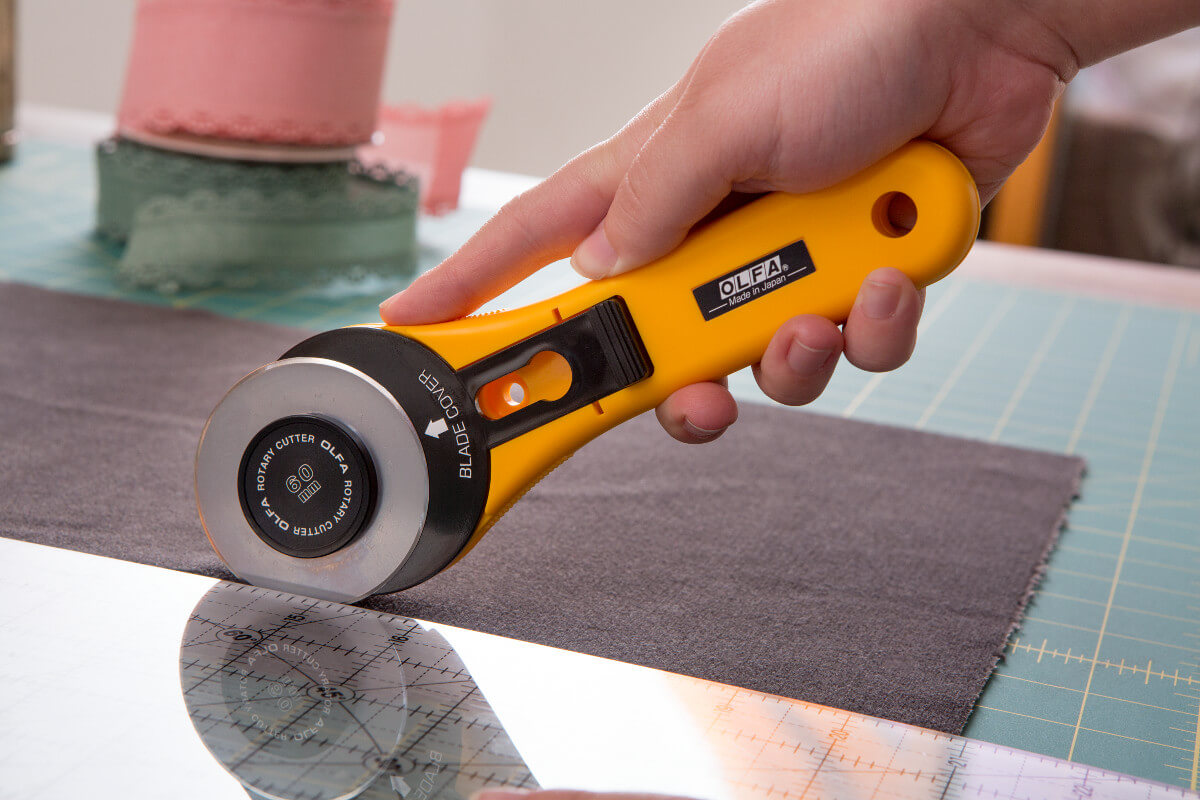
source: olfa.com
It’s a tool consisting of a circular blade, handle, and safety guards. The edges are incredibly sharp and spin(rotate) at high speed. Due to the rotating nature of the sides, it was named ‘rotary.’ They vary in different sizes. Smaller blades are suitably used for small curves.
The large ones are used for creating straight lines with huge curves. The blades can be re-sharpened. Alternatively, you can replace them with new ones once they are worn out. With this gadget, you are relieved of wrist pains. Therefore, pay attention to its functionality as I take through.
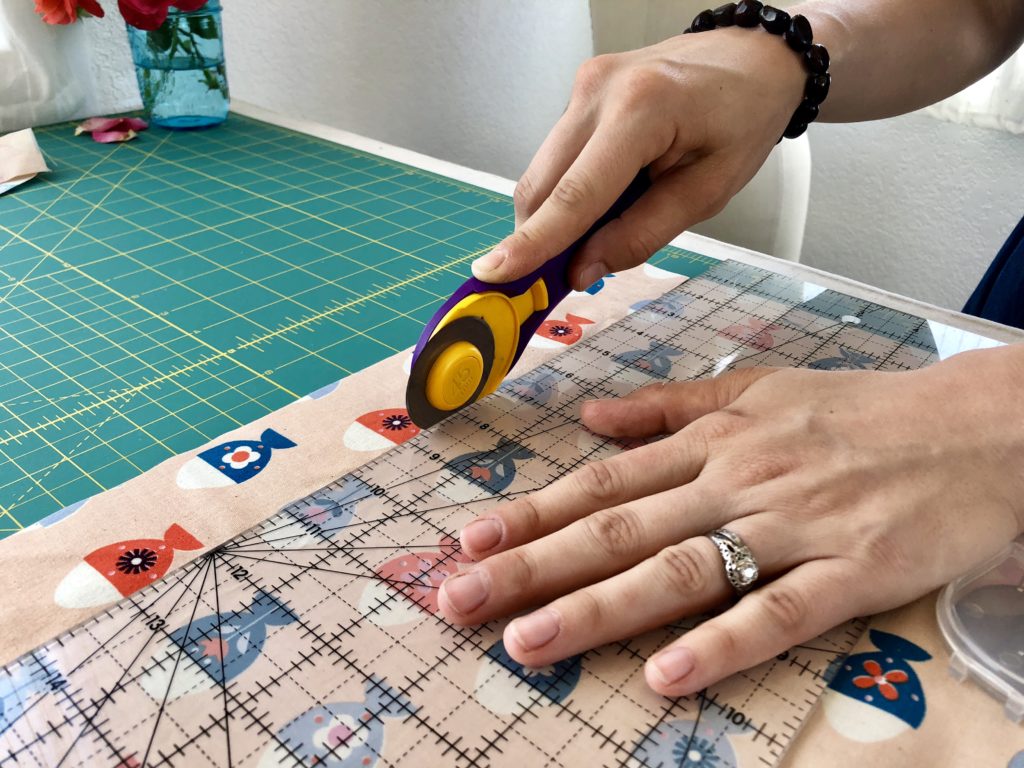
How Does Rotary Cutter Work?
source: z.anvas.info
First and foremost, before you even think of picking that rotary cutter. You have to prepare your fabric. Depending on your preference, you may wash it or not. Ensure you have what it takes to cut the fabric. To begin with, secure a piece of healing mat, safety gloves, and a non-slip ruler. There is no better way of cutting materials.
You may decide to make a pin pattern or use a washable marker. It will help you craft precise straight lines. However, this will be accomplished when using the following:
Non-slip ruler- You can use silicone non-slip disk. Place it under the regular ruler. Helps to avoid slipping of the gadget. It also enables you to line up the fabric for a clean straight line.
Healing mat- it should retract to its original form in case of cuts. Invest in a qualified mat. The ordinary mat is made up of several thin layers. It must be coated with a vinyl surface. Cheap ones are likely to slip, and this makes the blades dull. It’s supposed to cover the normal working area.
It helps to protect you from scratches as well as nicks.
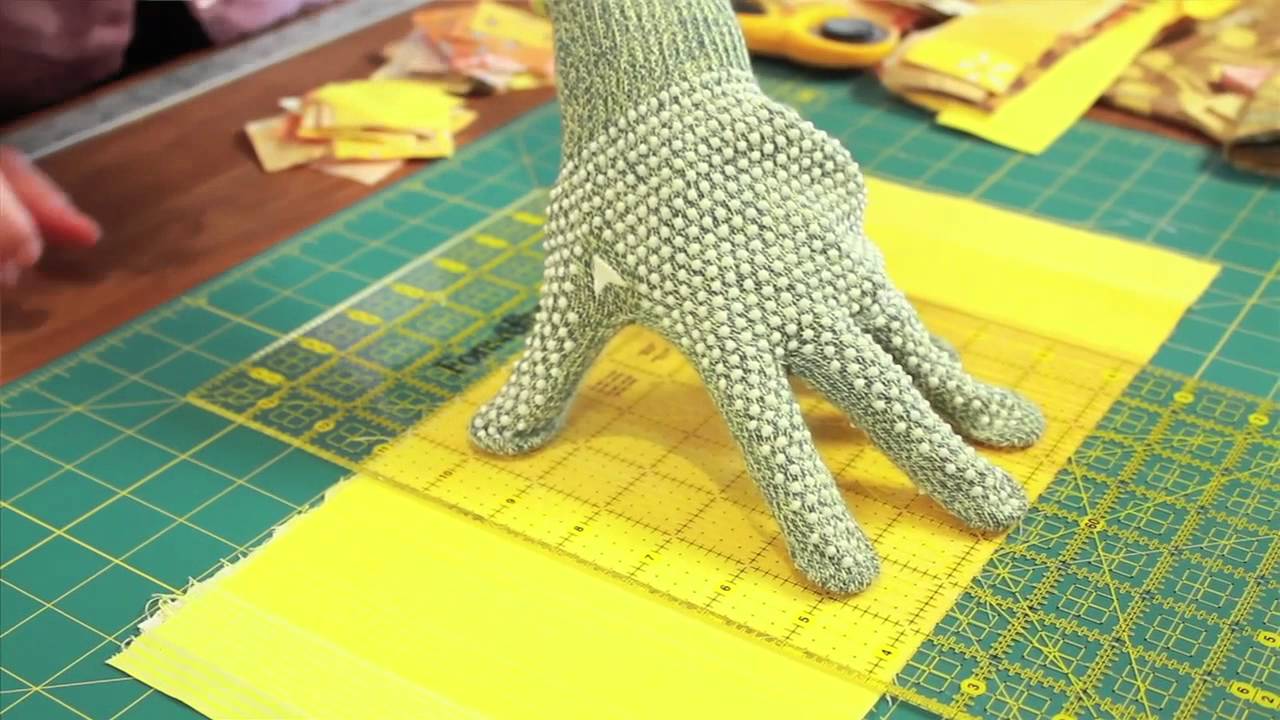
Safety gloves- They are not mandatory. They are part of the safety measures.
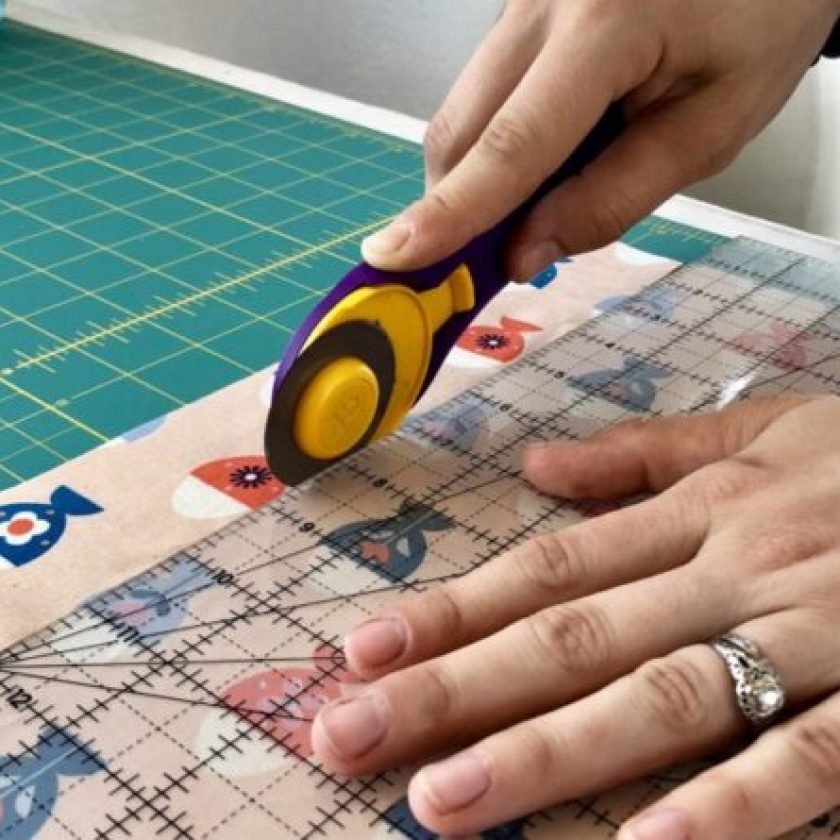
How to Cut Fabrics
source: pinterest.com
Clean the working area, place the healing mat, or the silicone non-slip mat. Square your fabric. Fold the fabric in half for the salvages to straighten up. Place the edge of the folded fabric on the bottom part of the mat. Place the selvages on top. Ensure the ruler is in line to form a right angle on both the fold line and selvage edge. Prepare the fabric.
Firmly press the blade as you hold rotary cutter upwards. Beware of the necessary precautions.
Safety Measures
Here, you’re taking care of yourself, the environment and the people around. It’s painful to slice your index finger, right? Think of using the mat. Thus, whenever the blades miss out on the fabric, they have something to cut along. Always stand when operating this machine.
You might say it’s comfy to have your cuts seated. While standing, you will have an exact point of view. After cutting, close the safety guard there and then. It might fell while open and harm your bare feet.
Always think of a safe place to store it. Away from kids and people who might not recognize what it is. Also, after changing the blades, dispose of them properly. Wrap them with thick tape. Maintenance is crucial and therefore improves the edges once they are worn out.
When changing the blades, make it a habit to follow the right procedure from the user guide. Use the ruler, and not any ruler. This helps to create a straight line. It also saves us a safety barrier between the hand and the blade. Pay attention when cutting and avoid distractions. It’s easy to injure your hand when distracted.
Save the cost of buying new blades by sharpening them.
How to Sharpen a Rotary Cutter
source: olfa.com
Like any other tool, repeated use of blades turns to be dull. However, blunts maybe be brought back to life. If you are a crafter, a rotary cutter is your friend or your favorite tool. How do you feel when you have to cut fabrics for three or more times?
After the cuts, the fabrics come out as rugged with strings at the edge. It’s is frustrating. Remember, the outcome should be a straight line or perfect curves. It’s is a total disguise. Let me give some tips on how to sharpen your dull blades.
Have an aluminum foil and a fabric scrap. Tear a large piece of the foil and fold it as many times as possible. These folds should not be less than six layers. Then start cutting the tin foil many times. After every cut, uses fabric scrap to test if it’s sharp enough.
Repeat the process until the blades are sharp. It’s simple, and the outcome is worth smooth cuts. Keep in mind that this isn’t a long term process. It saves whenever you’re in a pinch, and you can’t afford new blades. It saves a substantial amount of money.
Final Words
When using a rotary cutter, you must be faster for a straight line. Slow cutting might result in the shifting of the fabric. Regular use of this machine builds your confidence. If you’re not good enough to cut once, carefully make repeated cuts. After cutting, place this tool correctly.
Develop bright cut ideas and learn how to place your fabric. It’s important to note that the size of the material to be cut should match the size of the rotary blade. Always read manufacturers instructions carefully. I believe I have quenched your thirst for how to use it.