
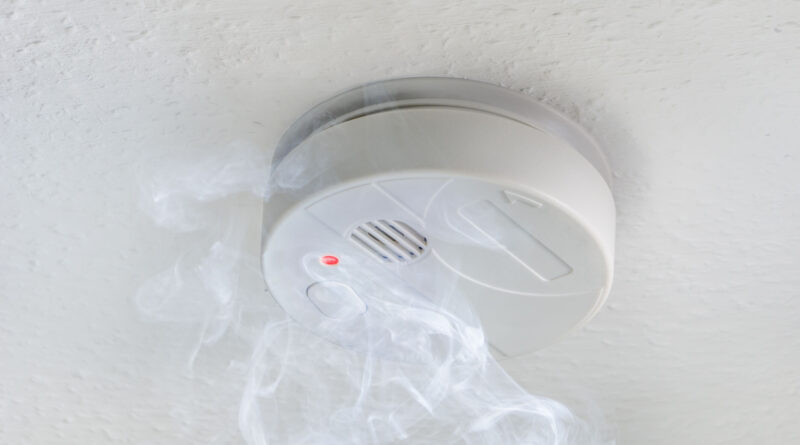
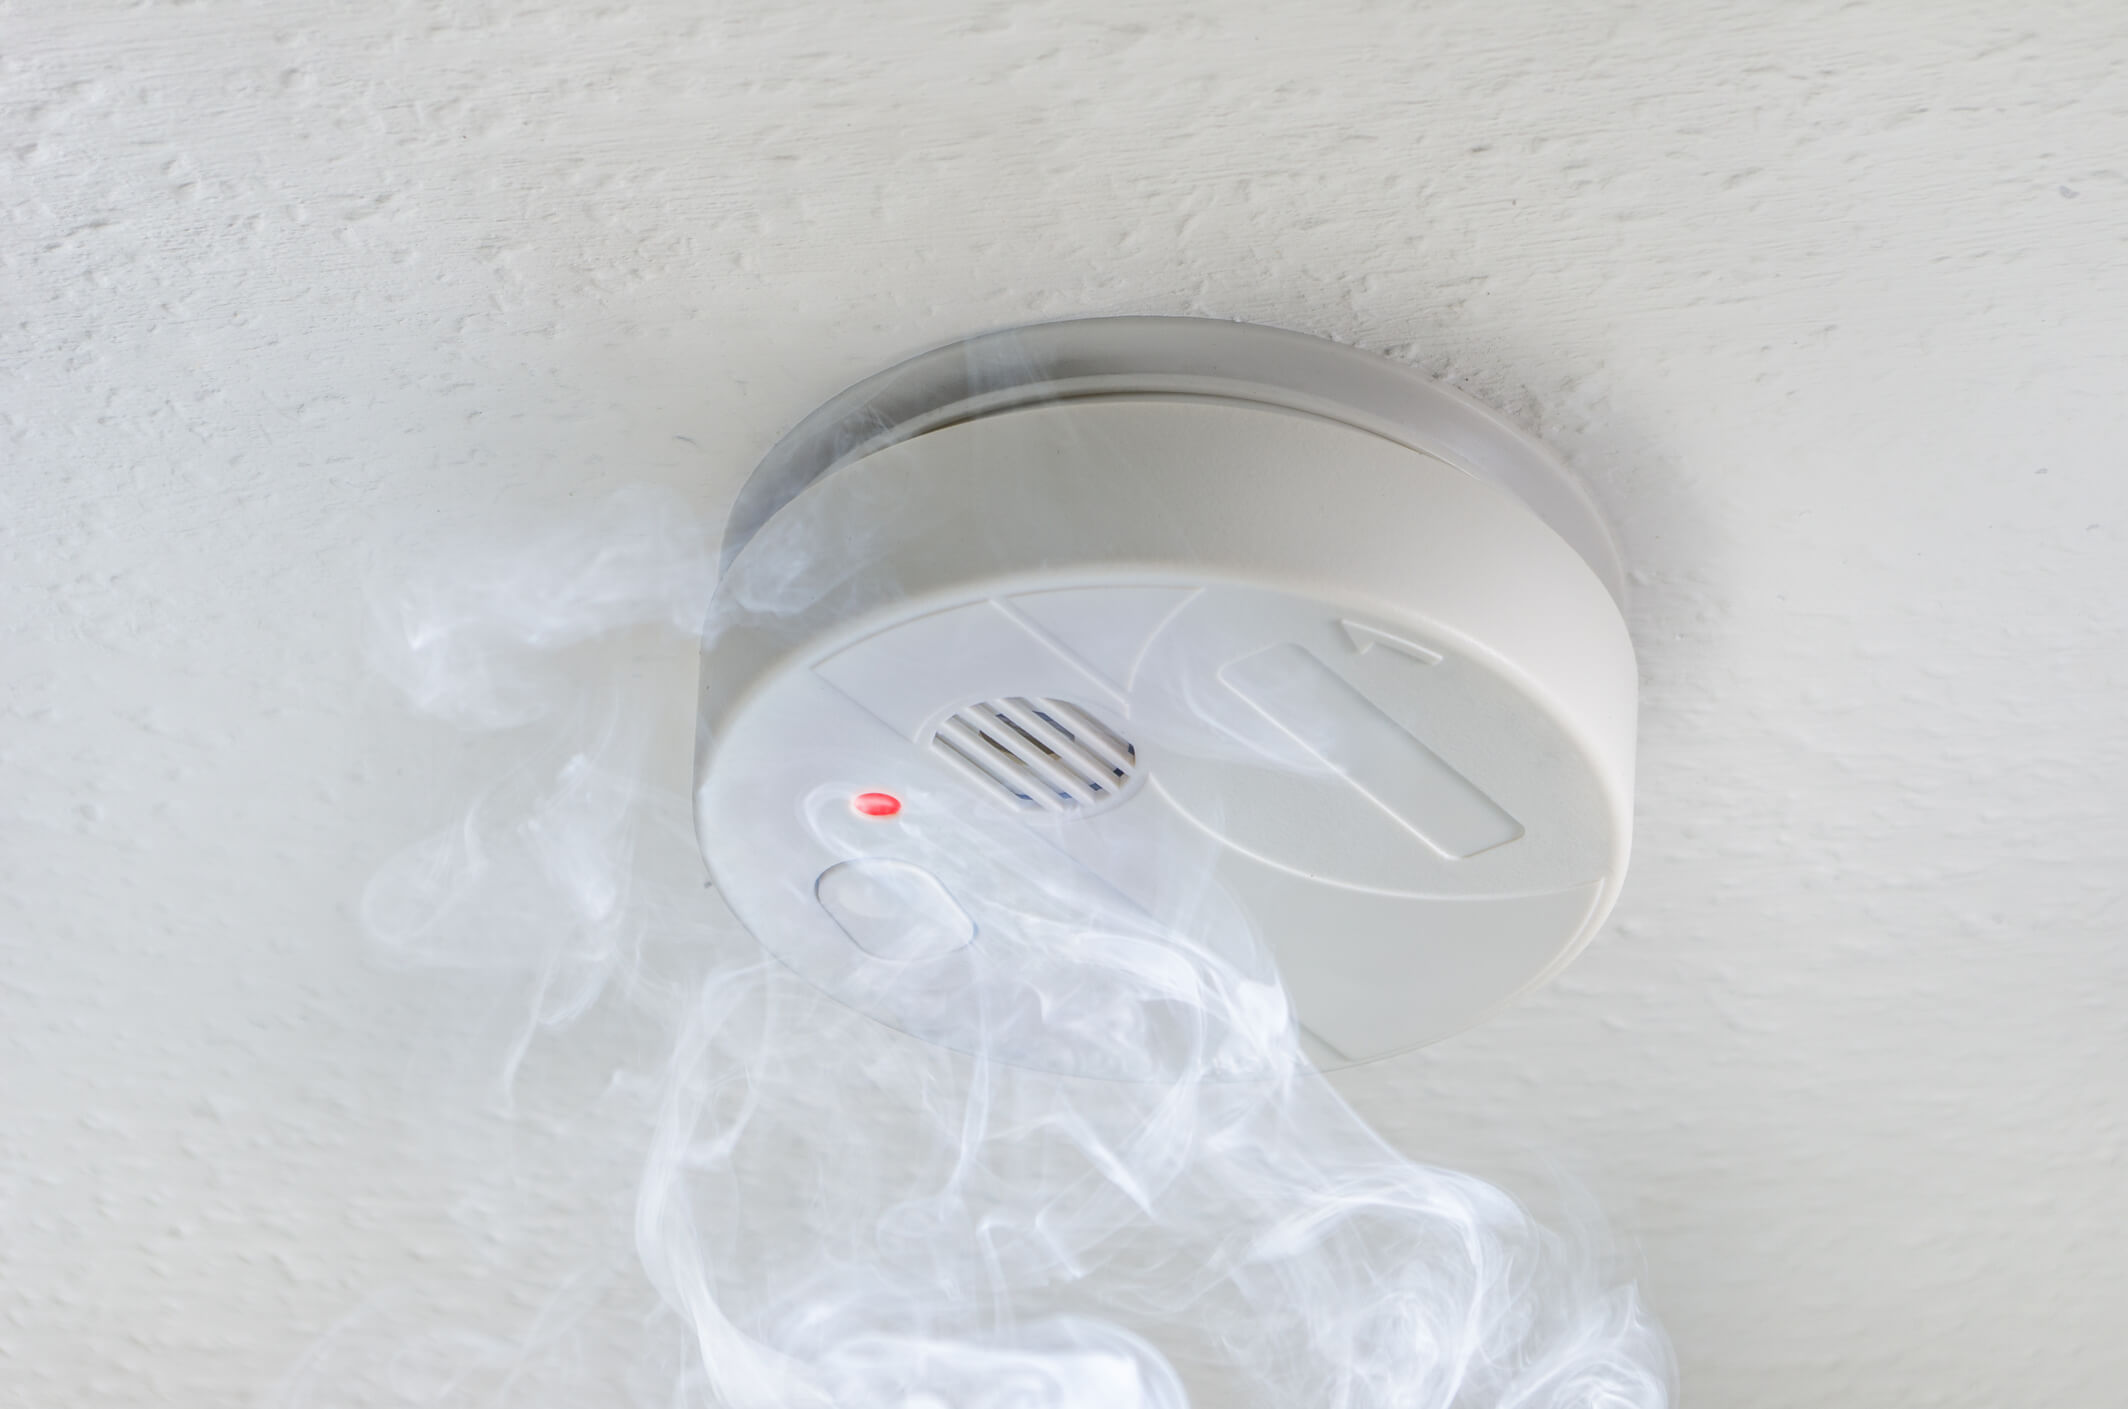
A smoke detector is a weapon to get rescued from an emergency fire or smog. As names say this device detects the fumes and makes you alert. It is required at residential places nearly, everywhere, and it is used for a better reason. It makes the occupants aware of what is going to happen next, hence saving lives and making them alert about the flaming fire, and very difficult to assume about the next until you get to know that a fire is arising, it is already too late because house fire begins so quietly that inhabitants cannot guess that the house is in flames. One can die due to vapour before the flames are noticeable to them. And you never know when what is going to happen? Smoke revealers stay awake the entire day and all night, even if they can sense the lowest quantity of exhaust and fire. Though it is easy for you, about one can save your life.
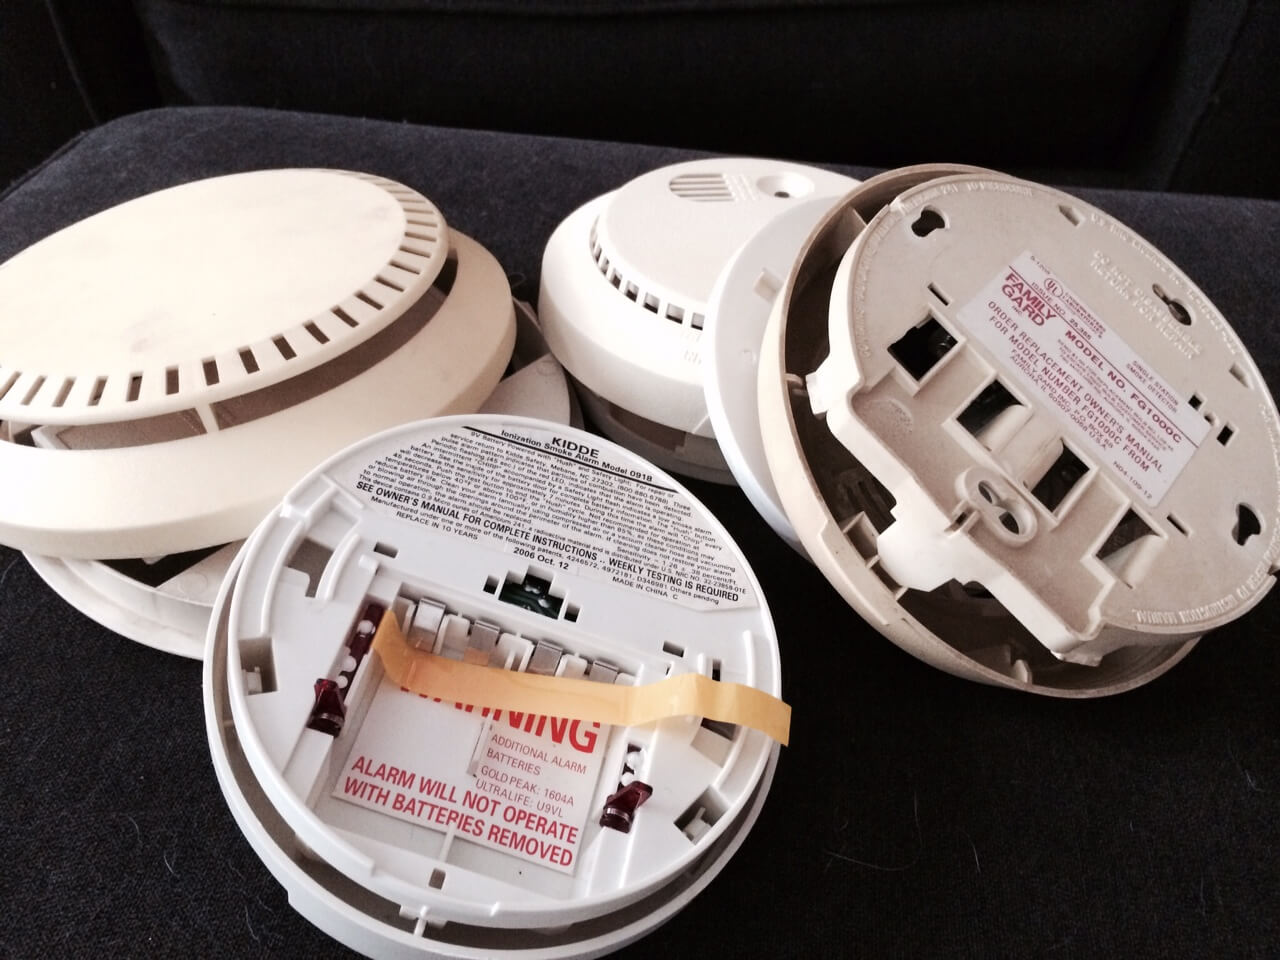
They can be charged with the help of electricity. Hence, all types of detectors require electric charge without charge; these are useless, it needs continuous charging as it works continually the entire day. Lessons learned from why this equipment fails; about 25 percent of all failed smoke detectors is due to the dead batteries. There are two types: battery – only smoke spotter, this device is kept on charged with the help of a replaceable battery that you can find or use rarely, and another is a hardwired smoke detector which works based on electric charge, these can works based on household circuits, through interior support batteries that pace in should the authority source fail. On the comparison between both the warners, a hardwired detector is the best option that can be used, because it is charged with the electricity supplied in your residence. Let us know more about these revealers.
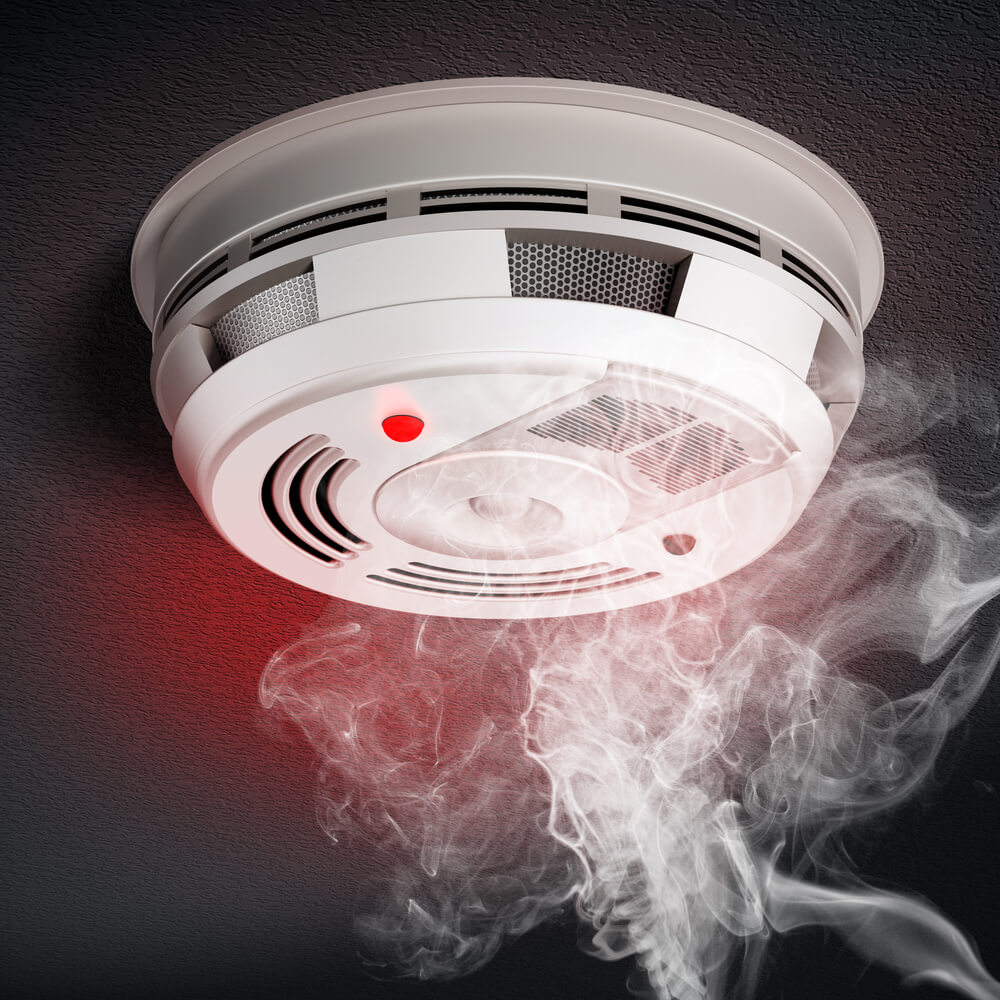
Hardwired smoke detector
source: pinterest.com
What does this exactly mean? The word “hardwired” refers to the electric fixture or appliances that help in the passing of the electric charge without any interruption, into an electric connection box on the mechanism. A hardwired does not plug up into an electrical channel.
Based on looks from outside, it usually looks like a battery – only smoke spotter and is settled in the identical areas within the home. The difference is that the electric cable of these mechanisms runs behind the wall or ceiling from the backside of the device. This cable provides an electric charge to the equipment all the time. But if there is a failure in power connection, then it stops working. In the case of a power cut, an onboard battery is working in the place of power supply and provides energy to the mechanism to work incessantly.
Regulation and the Codes
You must check with the codes and regulations about hardwired revealers at your limited permitting agency. Many communities, which are rebuilding their residence in modern ways probably, prefer to use this mechanism, also in new construction, there is an increasing demand for using this device. If there is no requirement of code regarding hardwired smoke detectors in your home, you must go through it since it is safer and steadfast rather than a battery-only warning. Hence, the necessary talks about a device which can make you aware.
Overview of an electrical work
source: villagegreennj.com
Electrical arrangements are the most important work that must be done. Someone should have a good acquaintance with residence electric effort and be thoughtful about electric circuits before you try to install a this thing in your house. If you don’t know about it then it is time to call for the best professional electrician.
Though there is nothing wrong with installing a new circuit to charge up the spotters if the electric codes do not necessitate that the hardwired revealers are linked to their own keen circuit.
Moreover, these hardwired spotters are installed by linking into common lighting circuits or outlet routes. Powering these devices is good enough either with the use of a 15 – ampere circuit, wired with 14 gauge cable or a 20 – ampere circuit, wired with 12 gauge cable.
Professional electricians are very straight forward to prepare wiring and circuit for any device. First, is to prepare space for the connection box of the tool, before that previous – work electrical ceiling box is to be installed on a suitable spot. There are 2 wires cables, moved from the first power source to the appliances. The power source can be a circuit cable, an accessible outlet, a switch, or a light match by which the cables have run – through. Second, the 3 – wires are set up to place the tactics in series. Similarly, various circuit and cable connections are done then the warners are ready for installation.
But be aware while working for electric currents, just check through that you have followed all precautions before you start working. The control must be closed off and there is no feed between wires.
What all is required?
Tools for mechanism
- Pencil
- Measure tape
- Drywall saw
- Stud finder
- Cable ripper
- Wire stripper
- A long ladder
- Cordless drill
- Fish tape
- Voltage tester
Resources
- 2 – wire cable
- 3 – wire cable
- UL – approved wire connectors
- Hardwired smoke detector
- An old – work electrical box
Directions
-
Mark location for the box

source: lifewire.com
Look around and try to find a better space for the tool. Since the flume arises, the ceiling is a better place where you can install and no connection problems can occur. If you wanted it to be installed on the wall, and then be prepared with the 12 – inches of the ceiling as support. The instructions from manufacturers, also limited structure codes, would have suggested where to install the alarms.
Foremost, use a stud finder to adjust the wall hoops or ceiling spars, grasp the electrical sachet diffident, draw the borders around the perimeter, and use this perimeter as the face of the model. Be aware of, that there are no joists and stud over the old–work boxes.
-
Make cutouts
With the help of a drywall saw, incise the opening in the drywall to grip the electrical old – work boxes for the gadget. The starting point for the drywall saw is you may call for a pilot gap to institute point.
-
Passing of cable through the first box
From the supremacy basis, pass 2 – wire rope with floor to the primary location of the box. Several locations are possible for getting the power source, that is –
- A wall switch
- An existing outlet
- The circuit breaker board
- A circuit cable that is not allied through a switch
- A ceiling luminosity match
The fish tape includes a fishing cable that is the most difficult part of setting up. It can take some initiative to figure out the passage of the cables, will run through. Fish cables are used by some professional electricians at loft space, all along with the upper limit spar, then down into the spotter box. This technique might involve more cables, but it is to a large extent easier to fish the cables in this way.
After the fixation of cable is done, try to leave a surplus cable in better quantity, keep extending from the drywall hole. Incise it down at proper length, after the setup is completed.
-
Cables to the other boxes
source: safty.lovetoknow.com
Pass the 3 – wire cable from the first box, attach with the floor, to each succeeding apparatus. These are the extra cables that help this equipment to catch one another and reveal the suspense about the gas or fire in the air, and the alarm reacts suddenly together if these extra cables are added to the box.
Repeating, to keep surfeit cable passing through the hole in the drywall of approx length.
-
Place in the cable into electrical boxes
First cut away excess cables at each location of the box, so that there is an increment of about 8 inches of wire, extended to the electrical box. With the help of a cable ripper, remove strips from the outer covering of the cable and introduce them into the electrical boxes, to get 0.25 to 0.5 inch of cable so that insulation broadens the compress and into the box.
How are the cables compressed into the boxes? It is dependent on what types of boxes have been used. If you use a metal box, then it requires the installation of cable clamps in triumph opening the box, while others have clamps to grip the cables.
-
Escalate the boxes
Using an old–work box, fix it into the aperture of the drywall after all the cables are kept secure in the pack. To maintain the place of the box at the drywall, tight and retain the tabs, screw all the corners tightly back and touch to the wall, protecting it.
-
Set up of mounting plates
From the starting location till the last place of the tool, the circuit wires go through the warner’s mounting plate, next line up the bolt on the escalating plate with the gap in the electrical box. Also, use the screws to secure the plate.
-
Fix the smoke detectors
In the first box, use the cable nut or UL – approved wire circuits to connect the wire leading to the box. What type of connection should be done?
- Join the black wire to the black circuit of the box.
- Join the white wire to the white wire guide to the apparatus.
- Connect every nude copper ground wire jointly, if you are using a metal box then put together an exposed copper or green insulated pigtail wire to the pack.
- Join the red circuit wires to the traveler or interconnect to the yellow wire of the apparatus.
Cautiously insert the cables through the escalating plate, and then protect the mechanism from the mounting plate, subsequent the terms given by manufactures’. In spite of bolts, most of the gadgets need slide notches on the detector into the slot on the support.
The model is also varying for the connection between the cables, so it is better to ask a manufacturer for a direction to fix them. As some models carry the connection made on a mounting plate that includes a plug – socket, along with where the tool is plugged. It is not the same with every model, other models, have wiring connected directly into the machine.
-
Mount an endorsement smoke detector battery
source: cgtrader.com
Place the battery as the consequences of the connecting battery, with positive to the negative and vice-versa, after the correct configuration, insert a battery in the device.
-
Joining to the power source
One of the difficult steps to do the feed of the cables that bring energy to the first smoke spotter to its control resource. This is the part where most of the occupants prefer to have a professional electrician, which is a better way to join the power sources.
If you are feeding the appliance rotten the light match circuit while making a connection power should be off, and then testing should be done. Then join an existing outlet, a circuit breaker panel, a light fixture to the cables of the tactic circuits. Wires that are not jointed to the wall should be sliced to circuits. If splicing a wire to the wall, then connect the black wire that feeds to the switch.
In the case of the installation of a new one, a news feed installation is involved AFCI – protected circuit breaker to maintain the implementation.
-
Checking smoke detector
Test the mechanism done to your instrument, by pushing the test button on every revealer box, one at a time. If the circuit is proper, then every alarm sounds together when pressed on each test button is checked.
When to call a professional electrician
In this case, if it is not responding exactly, then you must call for a professional. As hardwiring detectors are sophisticated electrical projects, and if you feel something wrong about it, then call a licensed electrician as support, as safety is the first priority to everyone.