

Stucco is quickly becoming hyper-popular among homeowners again. Stucco provides a beautiful, unique, and textured look to your home’s exterior. However, in some cases, you’ll need to repair your stucco to keep it strong. If you’re looking to repair your home’s stucco, or if you simply want to add a new layer, here is a 10-step guide to repairing stucco:
1. Remove Any Loose Stucco
Before you can handle any other major step, you need to break off any stucco that is super loose, especially any that is practically hanging from the wall. Doing so will give you a better idea of how extensive your repairs will be. Additionally, it’s important to avoid damaging any underlying wood lath supports when knocking off loose stucco from your home. If you’re not confident in your ability to repair stucco, however, you should seriously consider hiring a stucco remediation expert to get the job done.
2. Chip Edges
source: pinterest.com
Once you’ve knocked off the loose pieces of stucco, your removal job is still not quite finished. You’ll need to continue chipping away at loose and damaged stucco edges until you have stucco that’s exclusively and firmly adhered to its lath. If you find metal mesh sections that need to be removed, you should use snips to remove damaged portions (but be careful not to cut yourself).
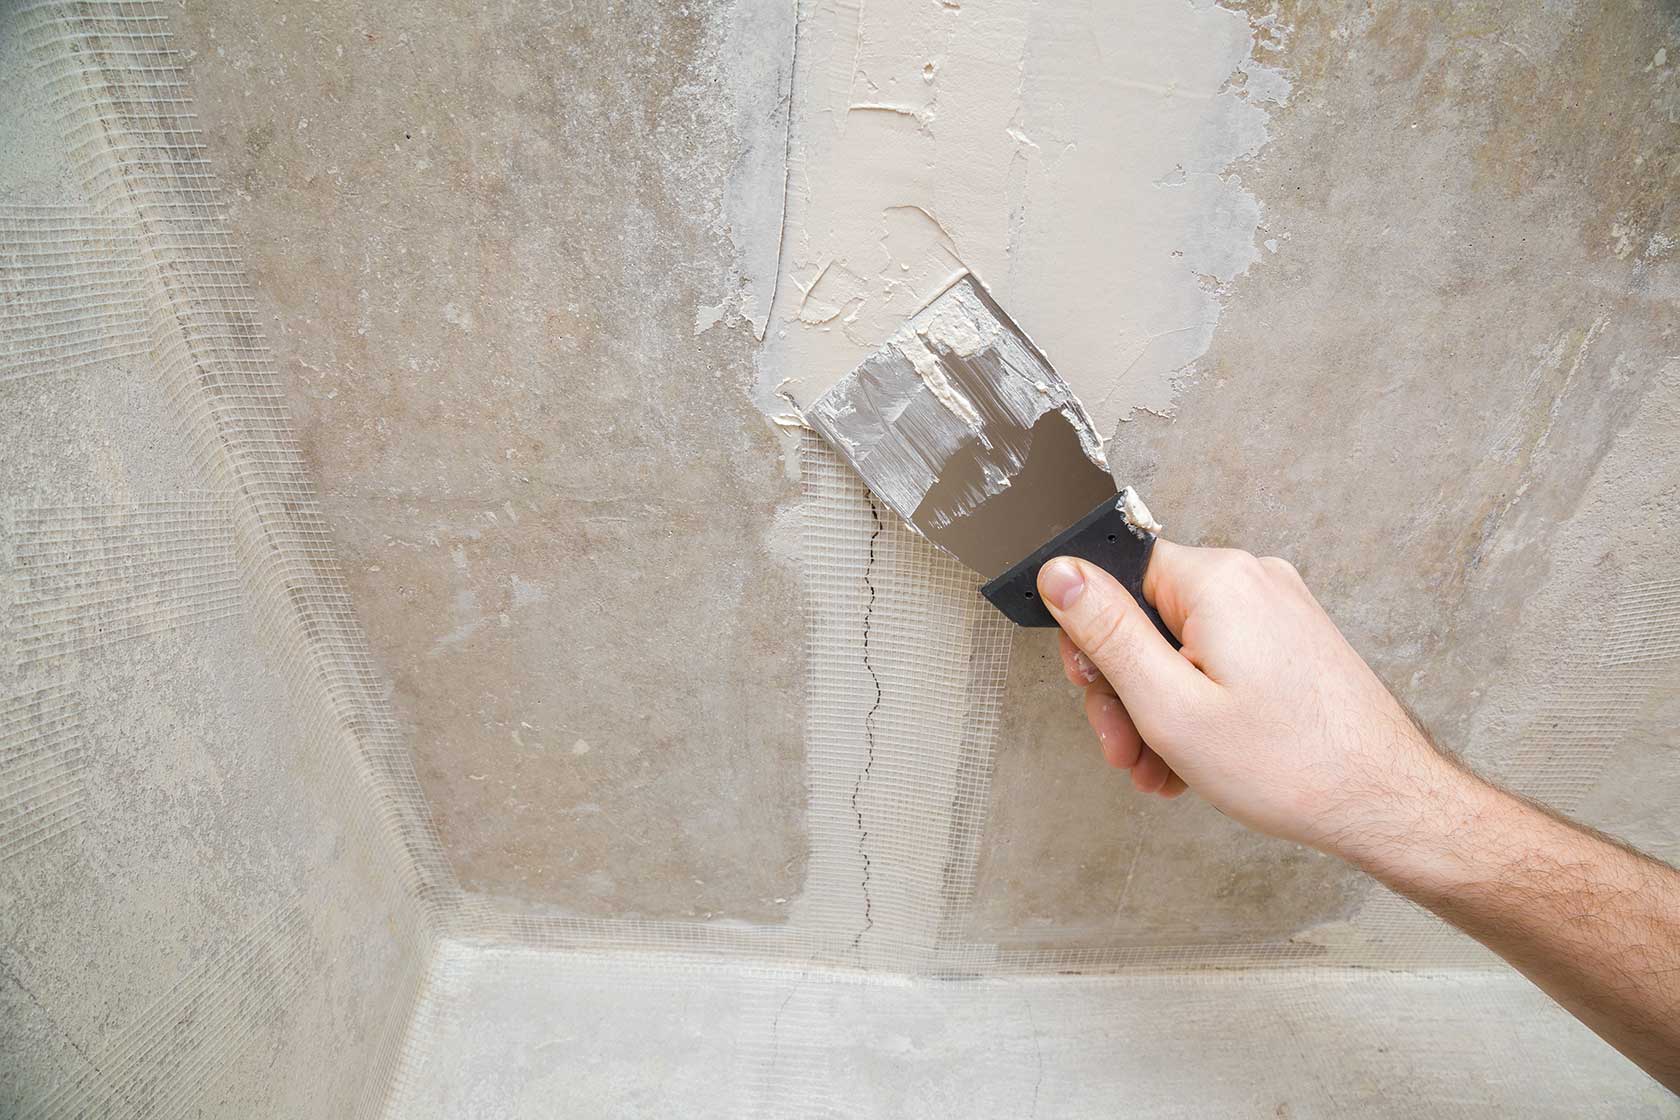
3. Cover Any Exposed Lath
Before we move on to the next seven steps, you must secure any exposed lath. With a utility knife, you should trim pieces of grade-D builder’s paper, then fit them alongside the boundary where your already-existing stucco is meeting the exposed wood lath underneath. Be careful to fasten the paper tightly, and then secure it even further using roofing nails and a steady hand.
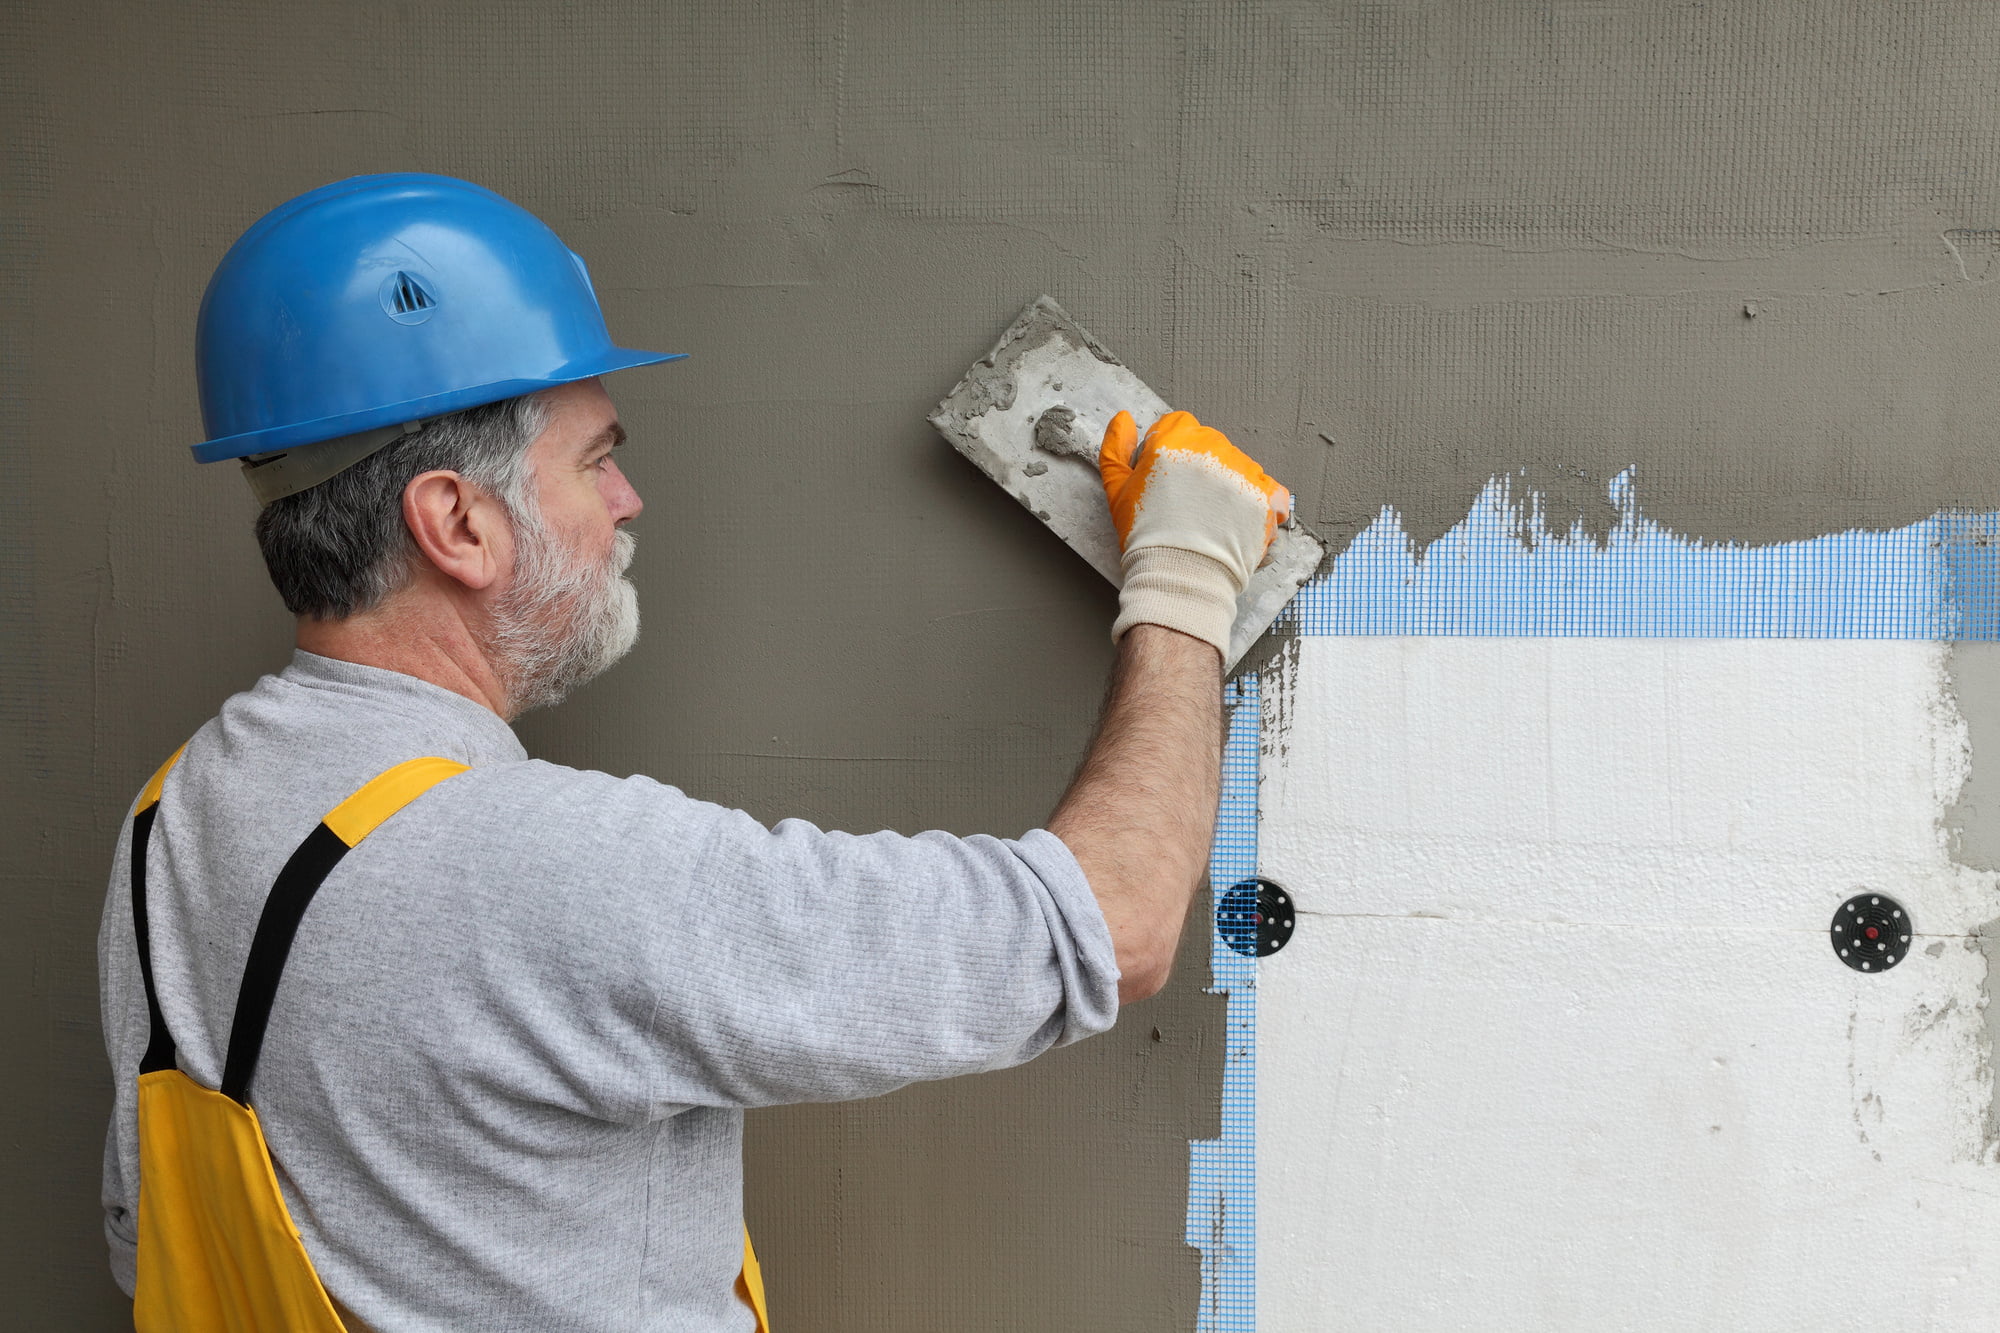
4. Use Mesh for Cover
source: pinterest.com
Once you’ve covered the exposed lath with grade-D builder’s paper, it’s time to get meshing. Use galvanized metal lath mesh over the paper, and then trim edges to the point that they are securely set against the edges of your stucco. Once again, use snipers to help achieve the edges and shape that you need. Finally, use roofing nails to secure the mesh covering.
5. Mix Your Replacement Stucco
Now we’re getting to the fun parts. Before you can repair your stucco, you’ll need to mix your replacement stucco. Use the instructions that have come with the particular batch you’ve bought, and consider using a wheelbarrow or other large container to mix the batch in. Some quality stucco products will have extra ingredients mixed in to improve adhesion and longevity.
6. Get Slinging
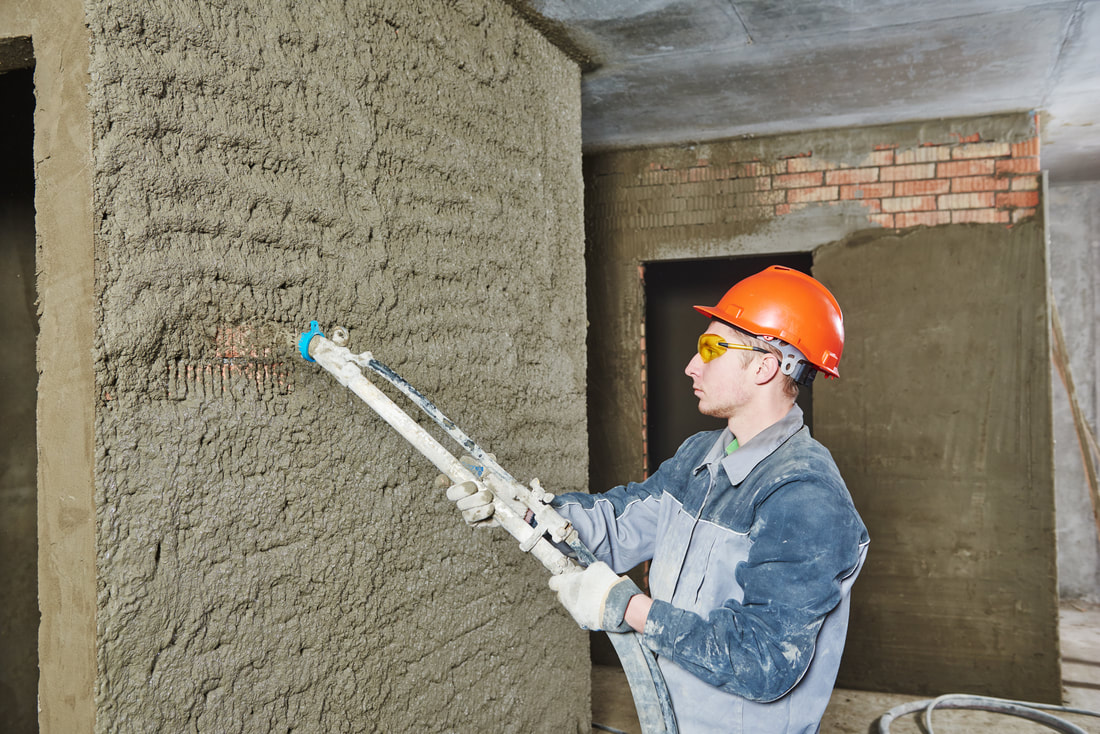
source: pinterest.com
As you apply new stucco, you should wet the edges of your old stucco. This ensures that the bond between the new and old stucco will remain strong. Then, you need to scoop big, hand-sized wads of your newly wet stucco mix and start tossing them against the wire lath you’ve put up. Do this until the mesh is completely covered with stucco. You’ll want this layer to be at least a half-inch thick.
7. Start Scratching
Although this step is perhaps the simplest so far, it’s also very important. Using a smoothing tool’s edge, start scoring and scratching the surface to improve the bond between this layer and the next coat you’ll be applying in just a moment. As you wait for the time when you will apply a second coat of stucco, you’ll need to place a plastic sheet over this newly scored patch of stucco so that it will not dry out.
8. Time for a Second Coat
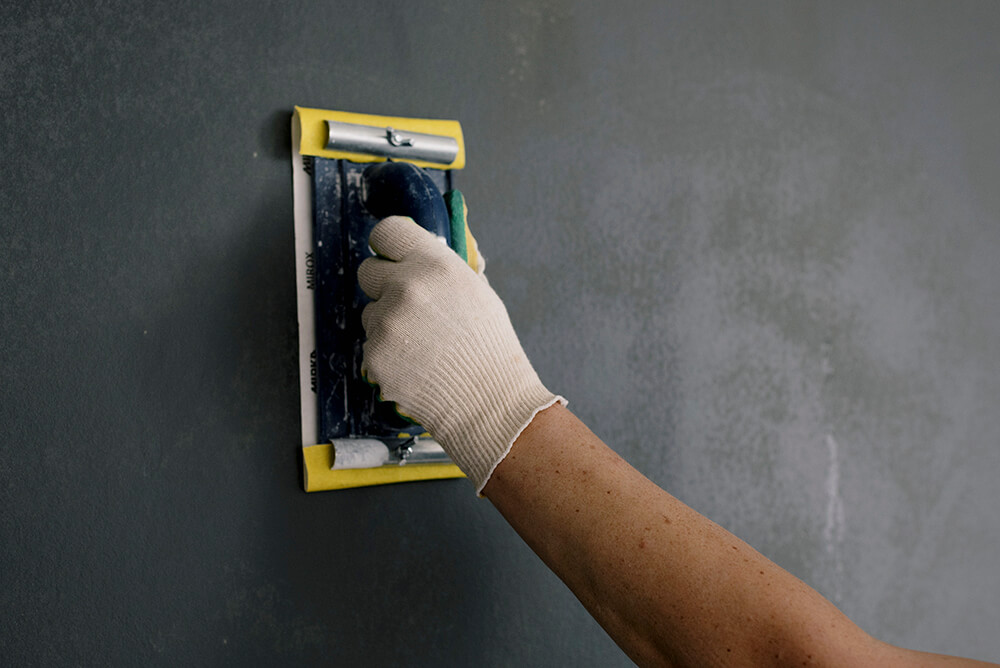
source: pinterest.com
You’ll need to wait a full seven days before moving on to this step. It’s now time to add a second coat to your wall. Use the second coat recipe that was provided with your stucco product, and then use a trowel to create a second coat that is at least ⅜-inch thick. For this coat, you’ll want to smooth out the stucco as much as possible. Then, you’ll need to apply a protective plastic sheet once again.
9. Apply the Finish Coat
This time you will only need to wait three days. Remove the plastic sheet, mist the existing patch lightly, then start mixing up your final coat of stucco based on the recommendations that came with your product. Make sure you apply the right texture and technique to this final coat for the best results.
10. Let it Dry to Finish the Job

source: pinterest.com
Lastly, you just have to wait until the stucco is fully dried out. You should let this patch cure for about a week before applying any additional paint. If you’ve done these ten steps right, you’ll now have a beautiful new coat of stucco. Stucco also pairs fantastically with retaining walls!
You’ve Done It!
By following these ten steps, you’ve completed a valuable and exciting home improvement project. However, if you’re not confident that you can handle this project, you must hire a professional, as you otherwise risk making your stucco improperly installed and weakened.